VectorStyler
    • Categories
    • Unread
    • Recent
    • Tags
    • Popular
    • Register
    • Login

    Add texture as Mask

    Scheduled Pinned Locked Moved Questions and Support
    11 Posts 3 Posters 8.4k Views 2 Watching
    Loading More Posts
    • Oldest to Newest
    • Newest to Oldest
    • Most Votes
    Reply
    • Reply as topic
    Log in to reply
    This topic has been deleted. Only users with topic management privileges can see it.
    • BoldlineB Online
      Boldline
      last edited by

      There is a technique in illustrator that allows for a png file texture to be added as a mask. I was attempting this in VS and not having success.
      https://www.youtube.com/watch?v=23udufdFaQ0

      🍎 macOS Tahoe 26.2, Mac mini (M1, 2020), Chip Apple M1, Memory 16 GB
      Cintiq 27QHD Display and LG Ultra HD Display

      1 Reply Last reply Reply Quote 0
      • P Offline
        pentool
        last edited by pentool

        1. Create a rectangle and add a fill color to it (this will be the background that will show through the mask)
        2. Create a circle on top of this rectangle and assign a different fill color to it
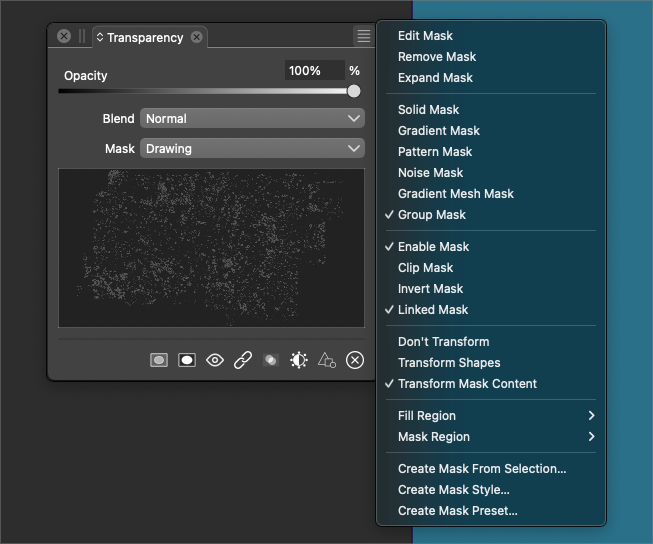
        3. Open the Transparency Panel (Panels > Transparency)
        4. In the Transparency panel, for Mask (Mask dropdown), select Drawing. This will enter isolation mode.
        5. While in Isolation Mode, import your PNG and place it over the circle.
        6. Double click to exit Isolation Mode. Ta-da!

        Check out the sample here:
        0_1692237867588_png-mask.vstyler

        0_1692237943591_Screen Shot 2023-08-17 at 4.04.47 AM.png

        MacBook Pro 13" early 2015 8G | Intel Iris Graphics 6100 1536 MB | macOS Monterey 12.7.6

        1 Reply Last reply Reply Quote 2
        • BoldlineB Online
          Boldline
          last edited by

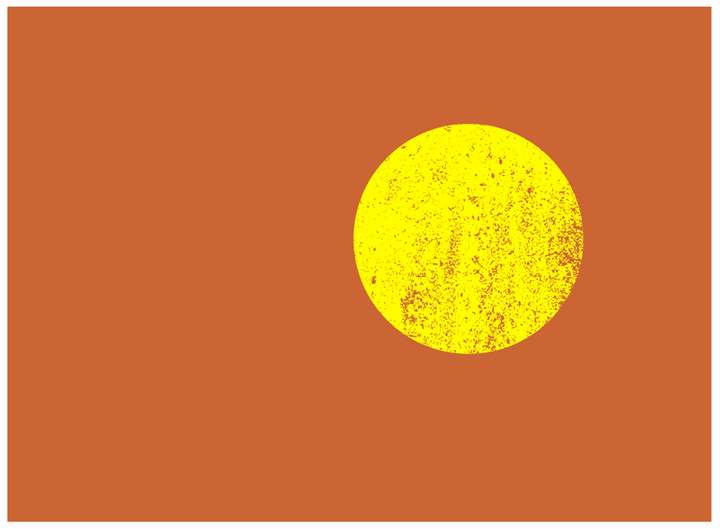
          @pentool Thank you! this was a big help and it worked.

          Now, if I want to use a vector grouping for the distress instead of a png, do I need to do anything differently? I tried it with a vectored distress grouping and wile it worked in theory, the mask left a non opaque result - see below:

          0_1692245917999_317a1786-f77e-49bc-940d-d080a15cfb12-BLD 2023-08-17 at 00.17.19.png

          🍎 macOS Tahoe 26.2, Mac mini (M1, 2020), Chip Apple M1, Memory 16 GB
          Cintiq 27QHD Display and LG Ultra HD Display

          1 Reply Last reply Reply Quote 1
          • P Offline
            pentool
            last edited by pentool

            You may have found the solution by now, but the process is the same as above.

            ...except in step #5, instead of importing a PNG for the mask, you either paste or create your mask in isolation mode (using whatever vector mask or design you have - making sure it's B&W). Then when you exit isolation mode, you have your vector mask.

            (...eg, you create your desired vector mask pattern in B&W as usual on the artboard, then cut it, and paste it back in isolation mode...)

            See attached document for an example.
            0_1692270612143_vector-mask.vstyler

            MacBook Pro 13" early 2015 8G | Intel Iris Graphics 6100 1536 MB | macOS Monterey 12.7.6

            BoldlineB 1 Reply Last reply Reply Quote 1
            • BoldlineB Online
              Boldline @pentool
              last edited by Boldline

              @pentool Thanks again for the example. I am getting a slight opacity issue with the mask when I try it. What I figured out is that this happens with CMYK and/or spot colors. When I switched over to RGB for the black for the mask, it worked perfectly.

              @VectorStyler is there a way to fix this so cmyk or pantone or spot colors can be used as a mask without getting an opacity film issue?
              This is the result using spot color/CMYK:
              0_1692287863902_fcab6c19-14e6-4999-b28b-5f0708e70d84-BLD 2023-08-17 at 11.55.08.png

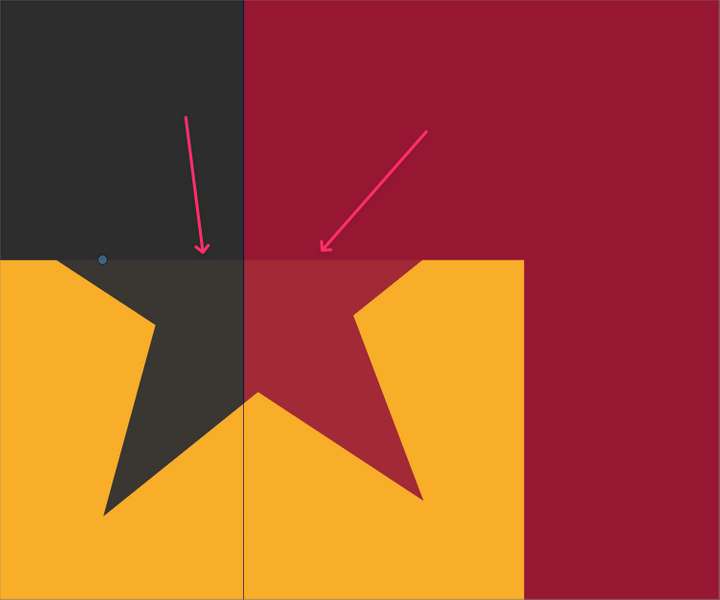
              This is when I switched to RGB - everything looks correct here - no opacity issue:
              0_1692288207099_98d82799-c52a-47ec-98fb-55103305517e-BLD 2023-08-17 at 12.02.22.png

              🍎 macOS Tahoe 26.2, Mac mini (M1, 2020), Chip Apple M1, Memory 16 GB
              Cintiq 27QHD Display and LG Ultra HD Display

              VectorStylerV 1 Reply Last reply Reply Quote 0
              • VectorStylerV Offline
                VectorStyler @Boldline
                last edited by

                @Boldline Send me the CMYK example file, I will try tor replicate the issue here.

                1 Reply Last reply Reply Quote 0
                • BoldlineB Online
                  Boldline
                  last edited by

                  @VectorStyler just sent the file over to you with the issue. thanks!

                  🍎 macOS Tahoe 26.2, Mac mini (M1, 2020), Chip Apple M1, Memory 16 GB
                  Cintiq 27QHD Display and LG Ultra HD Display

                  1 Reply Last reply Reply Quote 0
                  • BoldlineB Online
                    Boldline
                    last edited by Boldline

                    @VectorStyler I noticed that if the subject of the mask or the object doing the masking has a "transform" active in the shape effects panel. that will alter the way the mask is applied to the shape.

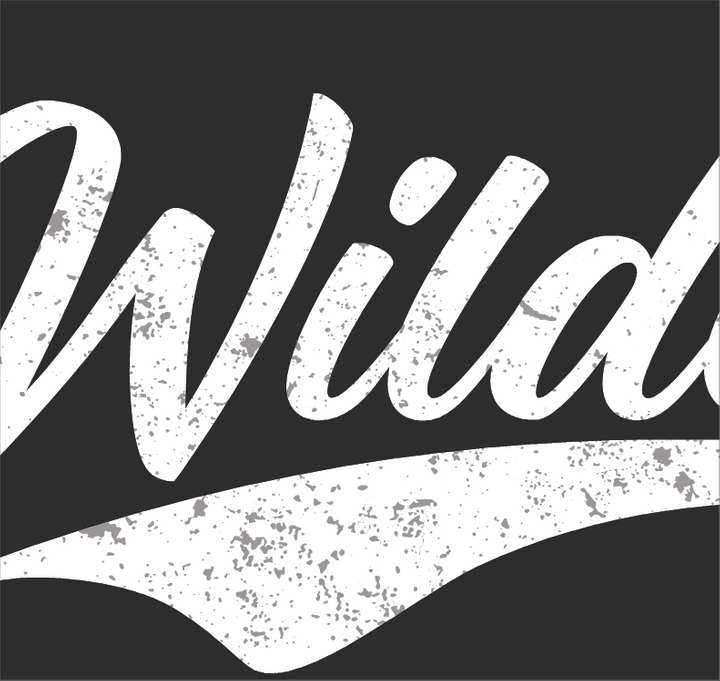
                    In this video you can see that the wildcat logo has a transform attached to it when I go ahead and make it the subject of a mask. When I add the mask, the results do not stay exactly where I put them. You can see it more clearly when i go back in and highlight the mask - it shows the result in a lowered opacity behind it and it's off. But when I use the "convert to curves" to "bake in" the transform, it works as expected
                    Here is the file itself if that helps

                    Here is that video - I show first the issue and then backtrack and bake in the transform and try again and it worked correctly

                    0_1692292303969_85148678-0bfb-40c3-bcdd-31f2163af980-BLD 2023-08-17 at 13.09.51.png

                    🍎 macOS Tahoe 26.2, Mac mini (M1, 2020), Chip Apple M1, Memory 16 GB
                    Cintiq 27QHD Display and LG Ultra HD Display

                    VectorStylerV 1 Reply Last reply Reply Quote 1
                    • VectorStylerV Offline
                      VectorStyler @Boldline
                      last edited by

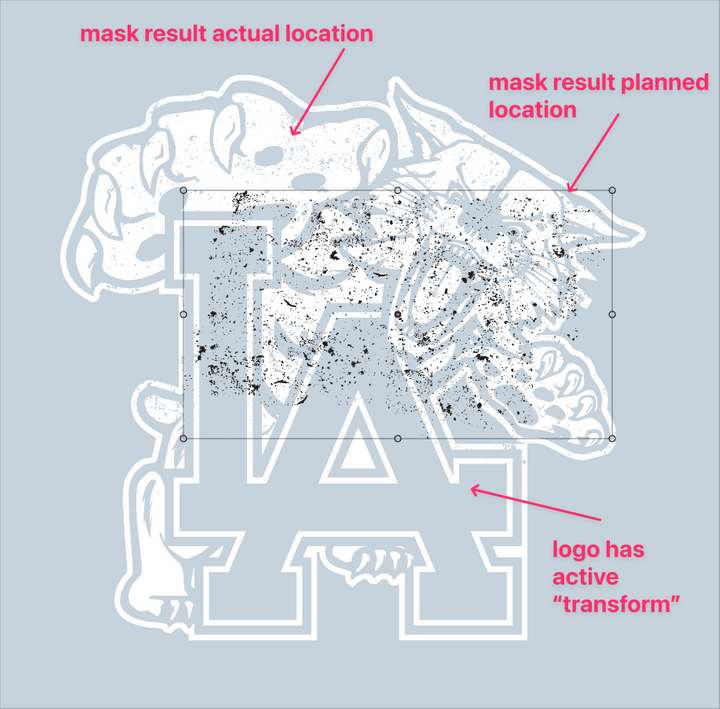
                      @Boldline There are some transforming options in the Transparency panel menu that control how the mask is transformed.

                      BoldlineB 1 Reply Last reply Reply Quote 0
                      • BoldlineB Online
                        Boldline @VectorStyler
                        last edited by

                        @VectorStyler Hmm I had not thought of that possibility. So when I look in there, am I better off using "don't transform"? What would be the benefits of using "transform shapes" or "transform mask content" ?

                        0_1692297631382_3b729f1f-9be9-4306-94d0-2e38aceeae20-BLD 2023-08-17 at 14.40.19.png

                        🍎 macOS Tahoe 26.2, Mac mini (M1, 2020), Chip Apple M1, Memory 16 GB
                        Cintiq 27QHD Display and LG Ultra HD Display

                        VectorStylerV 1 Reply Last reply Reply Quote 0
                        • VectorStylerV Offline
                          VectorStyler @Boldline
                          last edited by

                          @Boldline These control how the mask content is transformed.
                          I will have to test this, how it applies to this case.

                          1 Reply Last reply Reply Quote 0
                          • First post
                            Last post