Add texture as Mask
-
There is a technique in illustrator that allows for a png file texture to be added as a mask. I was attempting this in VS and not having success.
https://www.youtube.com/watch?v=23udufdFaQ0
-
- Create a rectangle and add a fill color to it (this will be the background that will show through the mask)
- Create a circle on top of this rectangle and assign a different fill color to it
- Open the Transparency Panel (Panels > Transparency)
- In the Transparency panel, for Mask (Mask dropdown), select Drawing. This will enter isolation mode.
- While in Isolation Mode, import your PNG and place it over the circle.
- Double click to exit Isolation Mode. Ta-da!
Check out the sample here:
0_1692237867588_png-mask.vstyler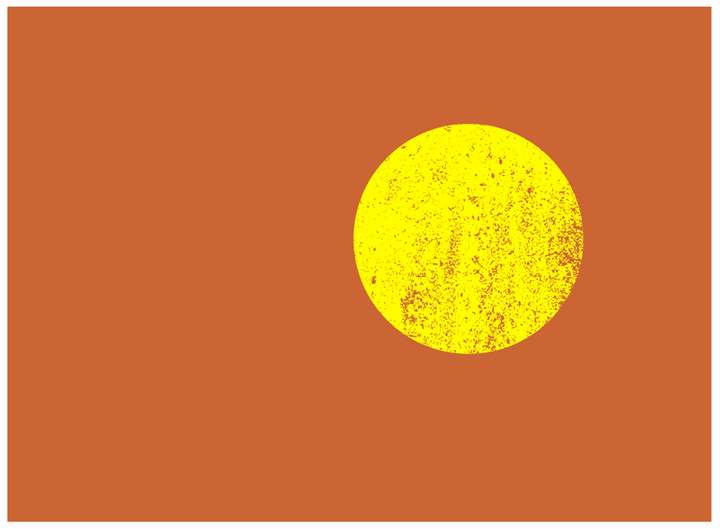
-
@pentool Thank you! this was a big help and it worked.
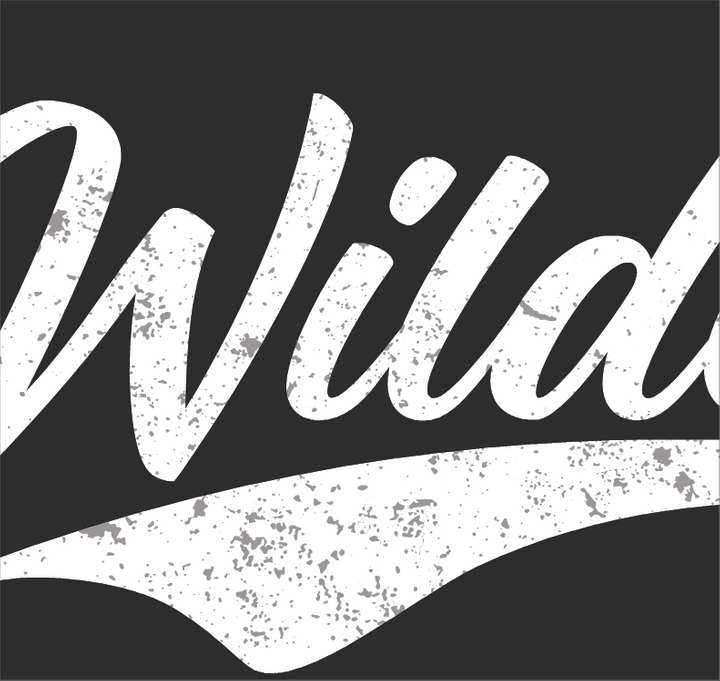
Now, if I want to use a vector grouping for the distress instead of a png, do I need to do anything differently? I tried it with a vectored distress grouping and wile it worked in theory, the mask left a non opaque result - see below:
-
You may have found the solution by now, but the process is the same as above.
...except in step #5, instead of importing a PNG for the mask, you either paste or create your mask in isolation mode (using whatever vector mask or design you have - making sure it's B&W). Then when you exit isolation mode, you have your vector mask.
(...eg, you create your desired vector mask pattern in B&W as usual on the artboard, then cut it, and paste it back in isolation mode...)
See attached document for an example.
0_1692270612143_vector-mask.vstyler
-
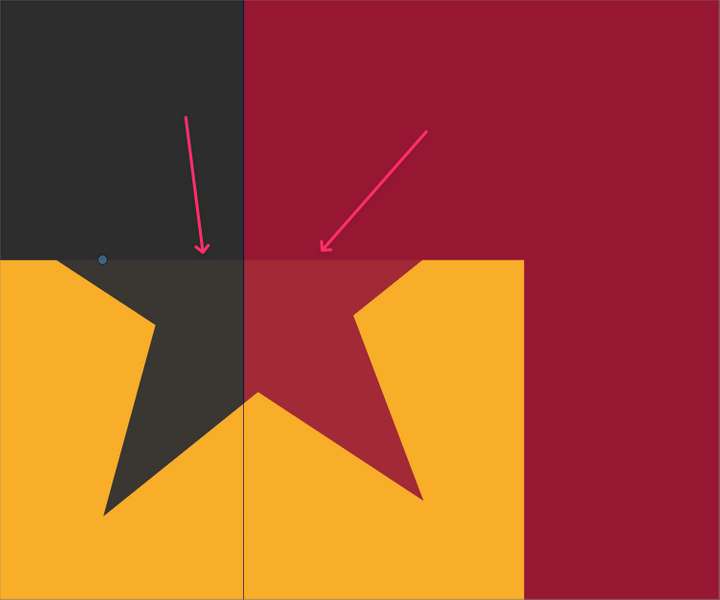
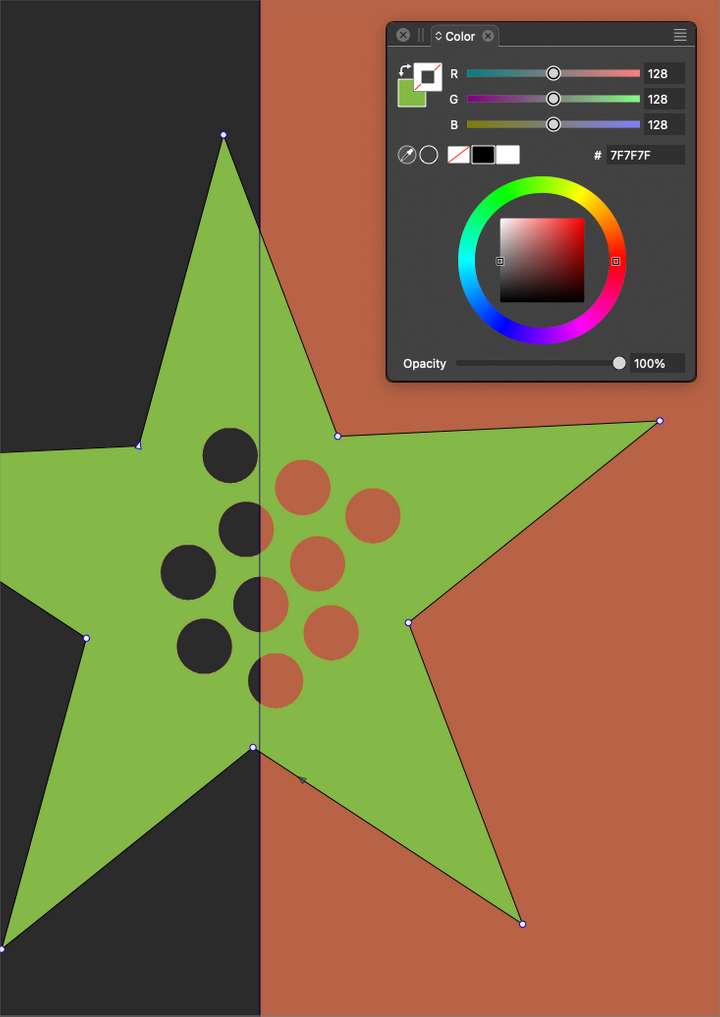
@pentool Thanks again for the example. I am getting a slight opacity issue with the mask when I try it. What I figured out is that this happens with CMYK and/or spot colors. When I switched over to RGB for the black for the mask, it worked perfectly.
@VectorStyler is there a way to fix this so cmyk or pantone or spot colors can be used as a mask without getting an opacity film issue?
This is the result using spot color/CMYK:
This is when I switched to RGB - everything looks correct here - no opacity issue:
-
@Boldline Send me the CMYK example file, I will try tor replicate the issue here.
-
@VectorStyler just sent the file over to you with the issue. thanks!
-
@VectorStyler I noticed that if the subject of the mask or the object doing the masking has a "transform" active in the shape effects panel. that will alter the way the mask is applied to the shape.
In this video you can see that the wildcat logo has a transform attached to it when I go ahead and make it the subject of a mask. When I add the mask, the results do not stay exactly where I put them. You can see it more clearly when i go back in and highlight the mask - it shows the result in a lowered opacity behind it and it's off. But when I use the "convert to curves" to "bake in" the transform, it works as expected
Here is the file itself if that helps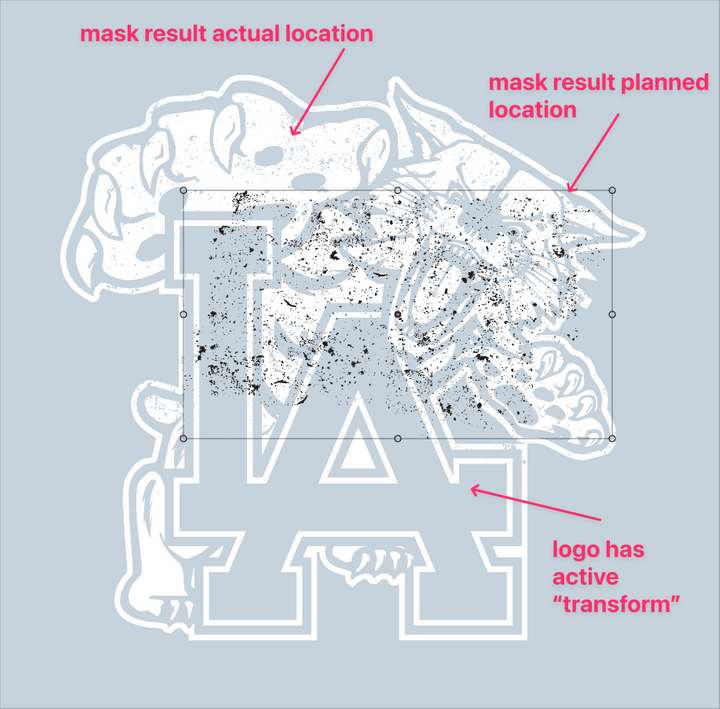
-
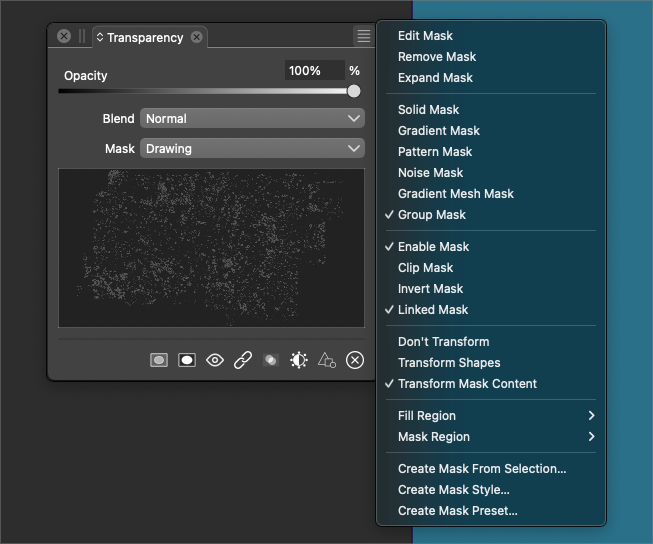
@Boldline There are some transforming options in the Transparency panel menu that control how the mask is transformed.
-
@VectorStyler Hmm I had not thought of that possibility. So when I look in there, am I better off using "don't transform"? What would be the benefits of using "transform shapes" or "transform mask content" ?
-
@Boldline These control how the mask content is transformed.
I will have to test this, how it applies to this case.