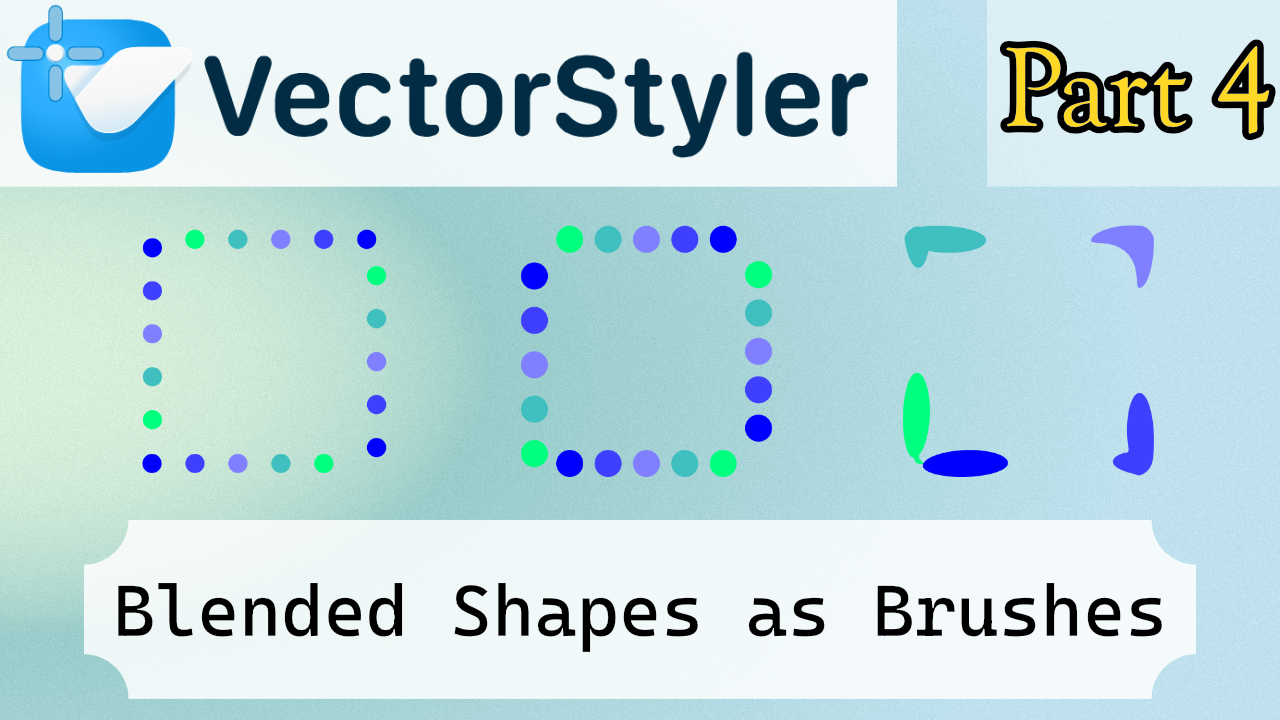
7- VectorStyler | Blending part 4 | Blended Shapes as Brushes | Credit: [Subpath]
-
This tutorial was inspired by the VectorStyler forum.Original tutorial: https://www.vectorstyler.com/forum/topic/2089/playing-with-blend-in-pattern-brush
Credits to Subpath for the original idea and recommendation, te mando un besote.
The shapes chosen were a bit tricky to frame. There are simpler motifs that would adapt better to the brushes and go unnoticed, but choosing round balls resulted in a very pronounced distortion of the edges.
There seems to be a bug where, when sending the blend symbol, it doesn't let you move the start of the pattern brush.
That's all, I have to go, bye!
Oh, and I don't know how to delete the artistic brush areas. They're created with a double-click, they can be moved, but I don't know how to delete them. I didn't show it in the video, and I couldn't find it in the documentation, so if anyone knows, please mention it.
If anyone has a solution for the squares that, despite being framed within the path, aren't well distributed, and any ideas for distributing them better, please comment.
I saw that the user who commented on this used a double path, but I can't quite imagine how to create it. Like, you create two, how do you combine two brushes?
You said in the blog that you created two patterns to create this circle, and that left me with some questions.https://www.vectorstyler.com/forum/topic/2089/playing-with-blend-in-pattern-brush/9
-
I'm not sure if I understood you right. But it seemed to me
like you wanted to delete some brush presets.If so:
Call the Brush Preset Panel
Menu > Window > Presets > Brush Presets
select your Brush and click the X Button on the right side
"Remove the selected presets"
.
.
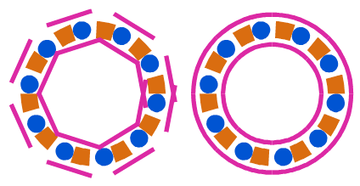
The Pattern is a combination of two Pattern brushes.
The outer circle and the inner circle are non-rigid
Pattern Brush to get the curved shapes.The inner Pattern is a simple Pattern Brush which
repeat a cuboid and a circle. This Pattern Brush
is set to rigid.Had this Idea because you can overlay some Pattern brushes
to get some more Pattern combinations. But some Pattern work
better if "non rigid" is set and other if "rigid" set in the options.
So this way you can fake/create Pattern Brush combinations which are
impossibel to build with a single Pattern Brush
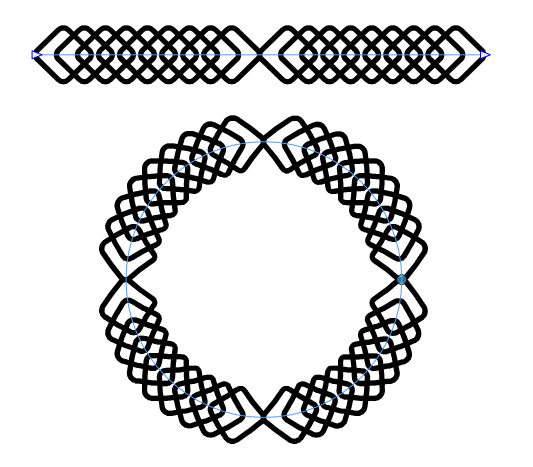
-
Here another Pattern Brush made via a Blend.
One could use the Intertwine Feature on it")