2-- Testing Displacement Map / Filter Image Object Role (Working, but Needs Improvement)
-
Reference album cover:

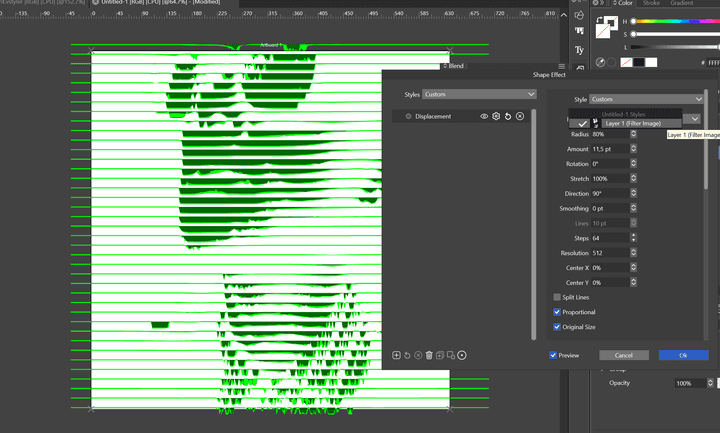
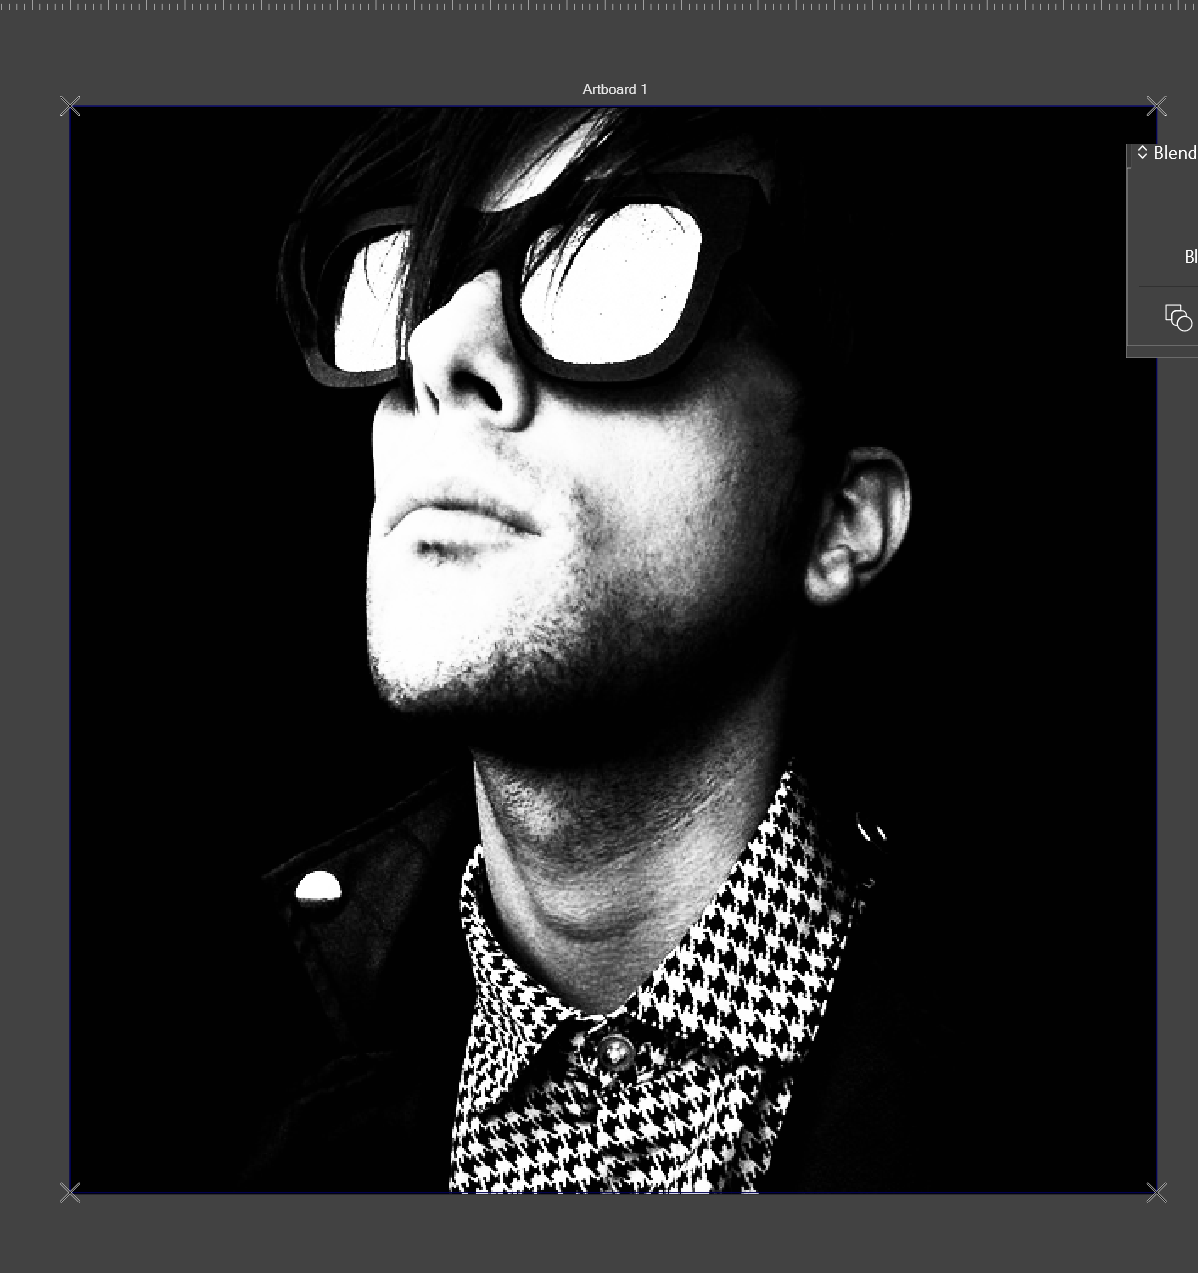
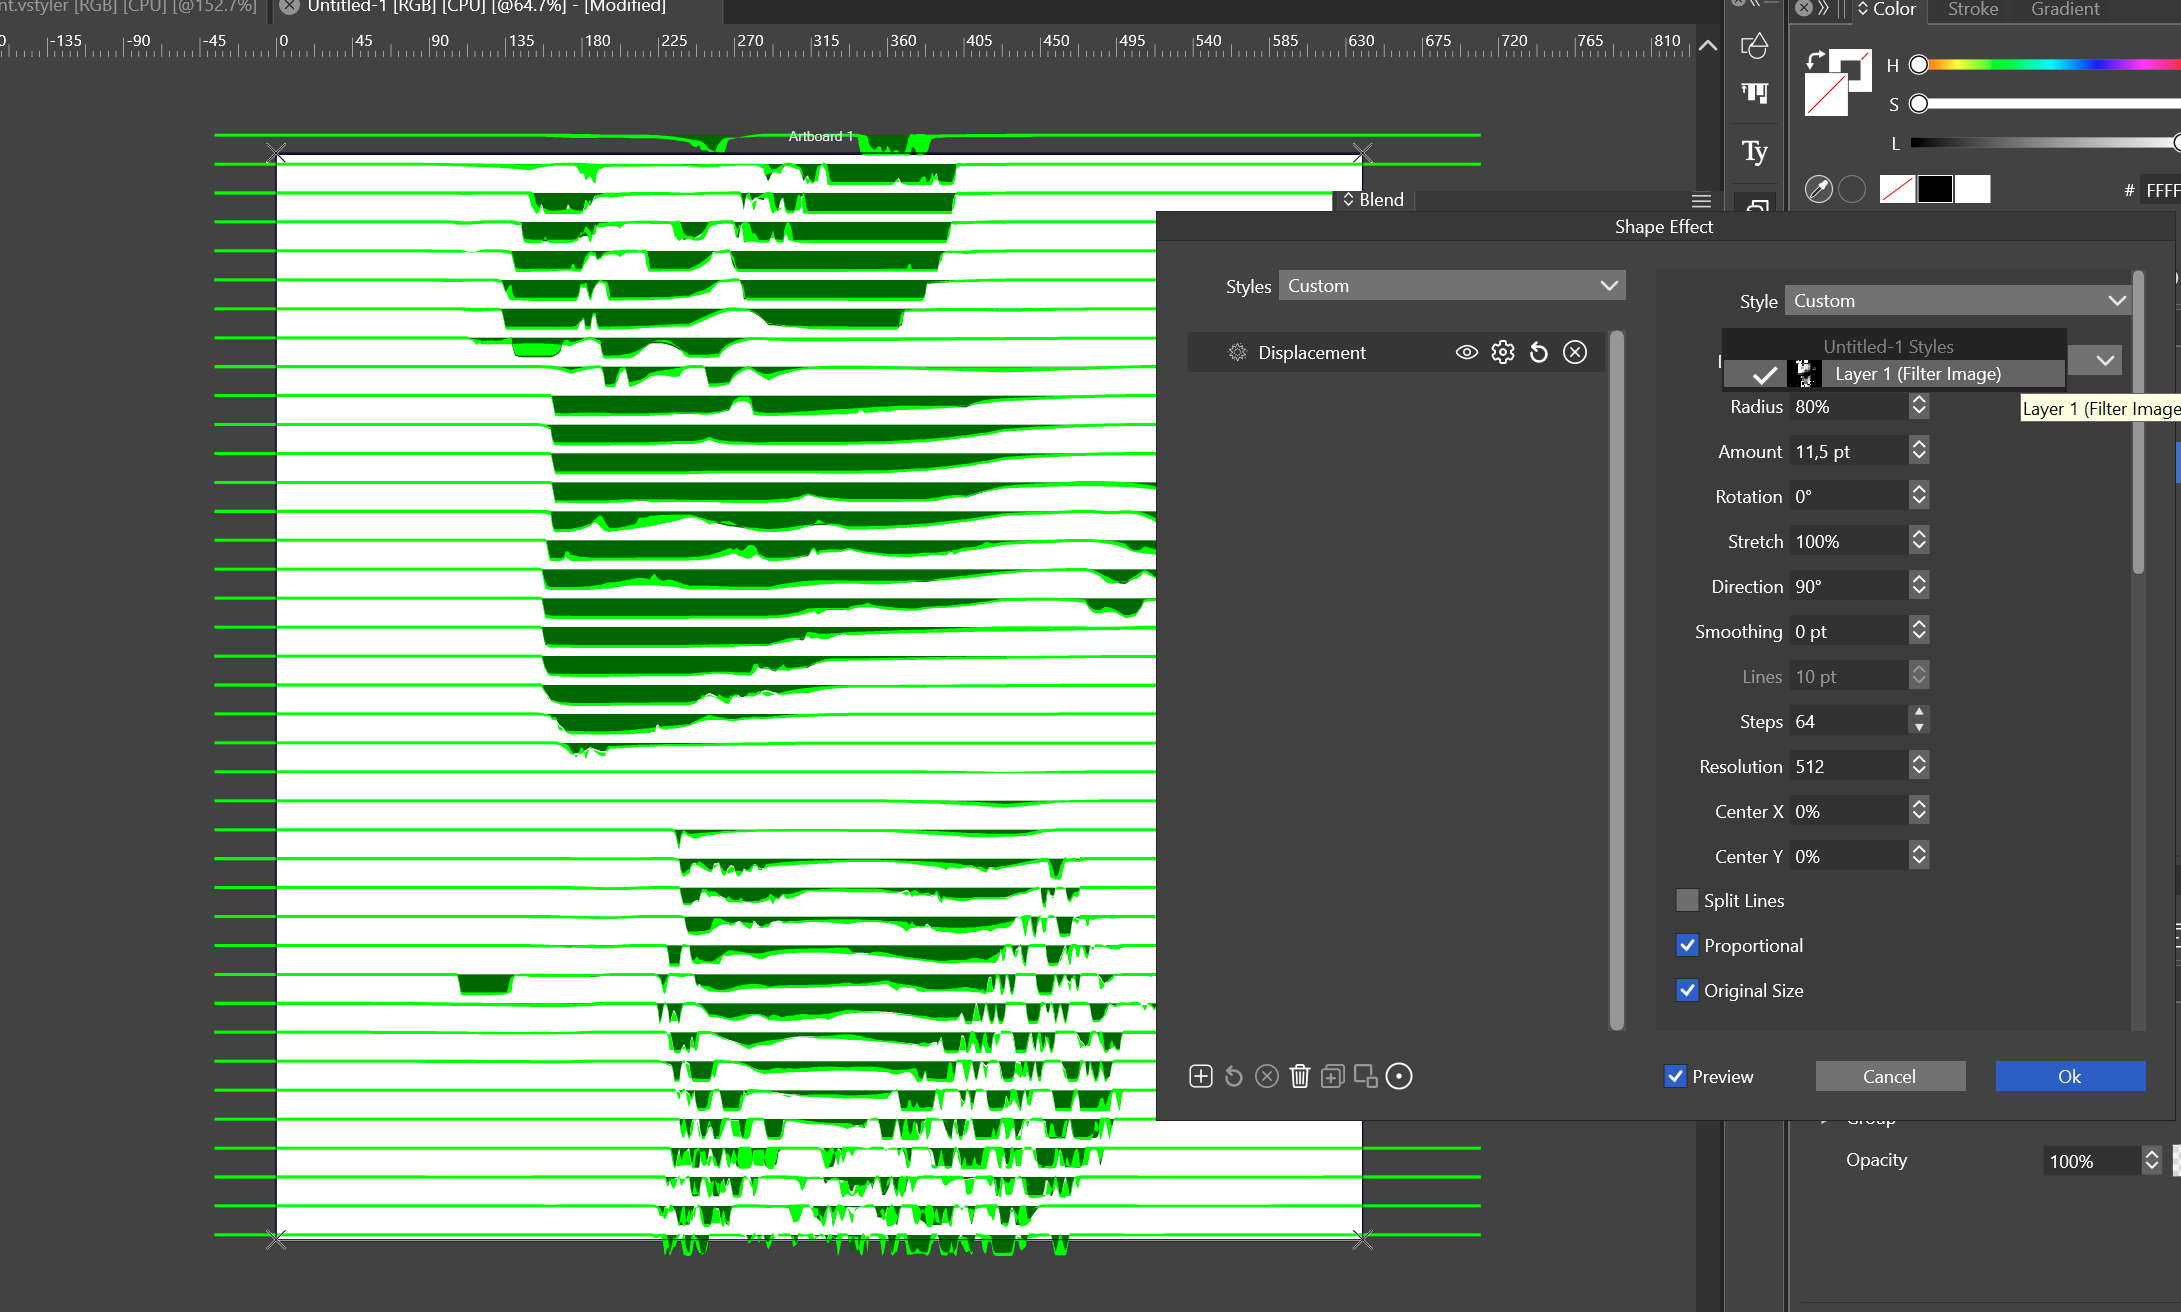
While looking for a way to recreate this effect, I found the Filter Image Object Role through this displacement map thread:Steps to create displacements: a displacement needs 2 objects, one is the "mask" to displace with, and the other is a group of (or a single) shapes to displace. create the mask object (in this example it is a text). This can be any group of objects, with colors, etc. Call this a mask from now on. select Object -> Object Options set a name for the "mask", in the above example it is "displacement" click on the Role button, and select "More Roles". here select "Filter Image" (these roles are listed in alphabetical order). confirm the role, and then confirm the object options. now create the other object (or group), and lets call this the "shape". In the above example, this is a single Line Grid shape, but any collection of shapes will work here. open the Shape Effects panel (Panels->Effects->Shape Effects). select the "shape" object. in the Shape Effects panel click on the [+] icon in the bottom-left of the panel, and from the menu select Outline -> Displacement. The Shape Effect panel now contains a "Displacement" effect. open the effect options with the arrow here click on the Displace drop down and the "displacement" object (the mask object) should be listed here. Select it. set the other options, especially Amount and Direction. using the (...) button at the top-right corner of the effect options popover, you can access more options to experiment with.Following those steps, I was able to achieve a similar displacement effect using a Filter Image as the displacement source.
The result is partially correct and demonstrates that the feature works. However, I think the current implementation of Object Roles is still very limited.
The main issue is that the Filter Image behaves like a "dead" reference rather than a live object. It doesn't provide the kind of dynamic relationship I was expecting, making it difficult to iterate on the source object without losing flexibility.
Another issue is that the displacement appears to be consistently slightly over-scaled compared to the source image, making it difficult to obtain an exact correspondence between the displacement map and the final result.
Overall, the feature is promising and already usable, but I think the Object Role implementation could be improved considerably to make this workflow more practical.