Attempts of a kind of Halftone Lines in VS
-
Part 1
This Part here, some basic information about the tools I usePart 2
About Line Grids and using the width ToolsPart 3
Using Envelope, Blend and clipped Shapes with the width ToolsPart 4
Using a transparency Mask on Stroke Profils.
.
First of all i like to mention, Repeater was not used")
I used these Tools here from left to right:
Stroke Width Tool, Stroke Width Brush, Stroke Smooth Brush
and the Stroke Width Eraser Brush

.
.
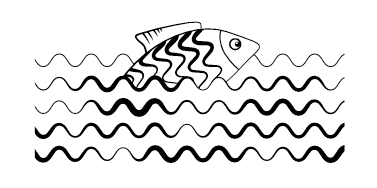
Here my triesI think most of you know that we could use the "Stroke width Brush"
to paint a Profile onto an Stroke/Line.
( Brush Size could be change with Up- and Down-Keys )
.
.
But I was not really aware this would also possible with multiple Lines.
And these Lines do not have to be selected for this !Seperated Lines work the best.
Here a Result with seperated Lines.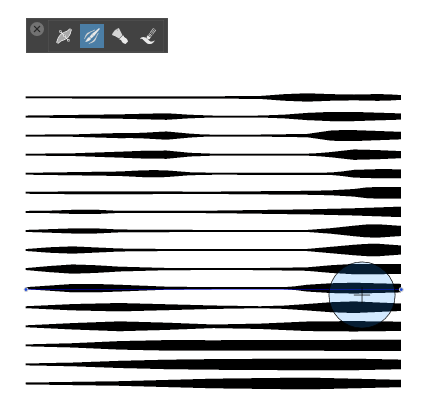
.
.
That's it for this Part.
The next Parts will show possibilities how all this can be modified.Have fun being creative
-
Part 2
You have few ways to get those Lines in VS.
Copy or duplicate a Line.Or using the "Line Grid Shape" and break the Lines
apart then to get single Lines.
Menu > Object > Break Apart (Ctrl-K) Win
(Command-K) Mac
.
.
Double click the "Line Grid Shape Tool" (Left Mouse Button)
brings some Options up. You could change the space between
the Lines or their angle.The Shape Panel, Menu > Panels > Shape give you the same
Options but stay open.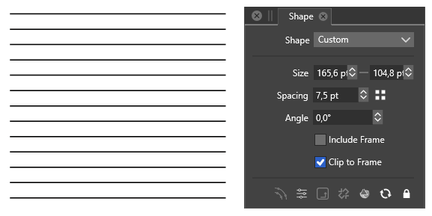
.
.
And then you could start painting with the "Stroke Width Brush".
But i have to mention a few things.The "Stroke Width Brush" will not work perfekt, like a real Brush.
But you could refine your Result with the "Stroke Width Tool".
and as the Picture below is symmetrical, i edit just one half
and mirror it.
.
.
Here is a video about editing with the "Stroke Width Brush"
and the "Stroke Width Tool".
The "Style Picker Tool" is also useful to copy a specific line style
or to restore the original state of the lines.Tip for the Style Picker:
Select the Style Picker and hold down the CTRL key (Win) / Command key (Mac)
to temporarily bring up the "Transform Tool". This will speed up the line selection.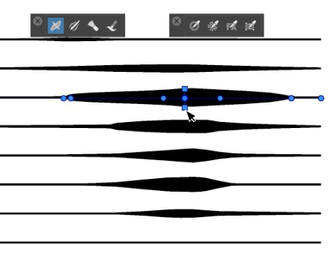
-
Part 3
What else can be said?
For deforming effects, the grid can be inserted into an
"Envelope Shape Effect" and then deformed.Finally, you can place the Line Grid with the Evenvelope Shape,
into a Clipped Shape.
So that the Line Structure extends only over a defined area.And the "Stroke width Brush" works even with this Variants
without any Problems.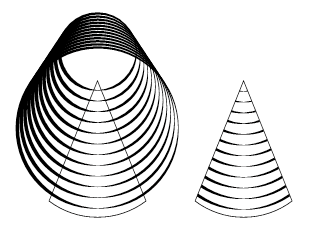
I think with all these possibilities that are shown here,
you can certainly do a thing or two.That all so far.
Have fun exploring and trying for yourself.
.
.
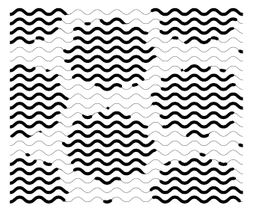
This Pic is made with the "Wave Grid Shape"
.
.
The Line Structures in this Pic is made with Blend and
inserted in a clipped Shape.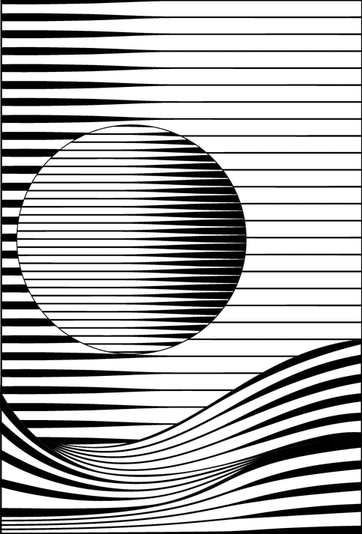
-
Part 4
Using a transparency Mask on Stroke Profils
.
.
Video is at the End of this Post.
.
With Part 3 i actually thought that my experiments with Halftone
like Lines were finished. But there was still a thought ticking in
my mind to find another way to create such halftone lines in VS.I did know that Masks could be used in VS to hide parts of objects.
So after searching a little in the PDF Manual i found a option with
Masks on Stroke Profils, which I like to show here.
.
.
(Btw a very special thanks to @freggern who created the PDF Manual
and keep it up to date. Its really really helpful, especially when you are
searching for certain Keywords.)
.
.
.
Ok, back to the option i found. In VS you could give a Object a Role
and one of these Role which are helpful for our needs is the
" Transparency content ". A Object with this Role would react like a Mask.
.
.
1
To start, lets create a Line Grid as described in the Parts above,
to refine your Line Grid call the Shape Panel.
Menu > Panels > Shape1b
When you are happy with your Line Grid, Break it apart.
Menu > Object > Break Apart
Because separated lines worked best in my experiments.
2
Select the Object that will become the Mask, and apply
the Role " Transparency content " to it.
Select your Object and choose:
Menu > Object > Object Role > Transparency content
3
Select all your Lines and call the "Stroke Width" Panel
Menu > Panels > Stroke Width.3b
In the Upper right of this Panel call the Panel Menu
and choose: " Adjust Profil with Mask "3c
A Panel with Settings appear, in the Drop down Menu "Mask"
(upper left) you have plenty of options, but select just your
Transparency Mask Object.
.
.
If everything is working fine, you should see your Mask Object
as a Pattern in the Line Grid.You could play with the Settings to refine your Result
a bit. Could not explain everthing. Because it is also
somewhat new to me.But try to set smoothing to a small Value 1 or 2 for Example.
Tip
If you dont see a Result, select all your Lines and try
to make the Line Width thicker. This will not disturb
your Result.
.

.
.
At least a few editing Tips.Tip 1
One helpful Trick is to select your Lines when you finisch
and try different Line width.Tip 2
Is to set your Mask Object into an invisible Frame before
you apply the Role "Transparency Content" to it.Because i did not find a way to scale a Mask Object and this is
the best Workaround i found.Tip 3
For better looking Halftone Lines set Subpixel to 8x8,
16x16, 24x24 to get much more crispier Lines
Menu > View > Subpixel
.
.
Thats it, have fun to stretch your ImaginationHere the Video, showing the Steps, re-upload

.
.Below a few Examples. Like to mention that this Methode
work also with Grayscale / B/W Bitmaps.


.
.
In this Example below i create some Lines with Blend.
Expand them to get seperated Lines and put a Mask Shape
on the Stroke Profil.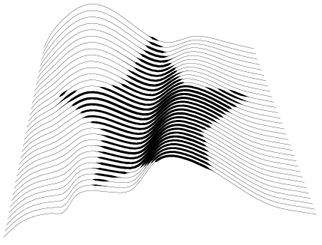
-
Thanks a lot for all these cool experiments !
-
Thank you, it's always surprising, even for me, to discover
what @VectorStyler has wrapped up in the package. -
@Subpath 视频无法查看无法播放
-
I have no problem watching the video.
I also checked the settings, the video is public.
So there shouldn't be any problem watching it.
Perhaps it's a country-specific issue?Could one of the other forum users
test to watch the video? -
@Subpath I could watch the video. Great tips, I keep learning
-