Shape Effect Brushes
The application toolbox provides access to a set of shape distortion brush tools, grouped with the  tool. These tools can be used to distort shapes by painting the distortion interactively using a brush size and shape.
The shape effect brush tools will change the object shapes in a destructive mode. This means that objects painted with a shape effect brush will be converted to curves and modified by the tool. The changes can be undone or redone, but it cannot be adjusted by different parameters.
The form and effect of a brush tool is determined by the brush size and shape, and the selected brush type options. The shape effect brush options can be edited, by double clicking on the corresponding tool.
The available distortion brush types are the same as the distortion effect types, with minor exceptions. When applicable, the options of these brush types are similar to the distortion effects described in the Distortion Effects section.

Shape distortion brush tools opened from the application toolbox.
To paint with a shape effect brush:
- Select the objects or group of objects to modify using a shape effect brush.
- Select a shape effect brush from the application toolbox, by opening the tool group.
- The selected brush type will determine the type of shape distortions.
- Set the brush option, by double clicking on the brush tool.
- Start painting with the shape effect brush tool, by pressing and dragging over the selected objects.
- While hovering or painting with a shape effect brush tool, the size and shape of the brush is indicated by a blueish circle, or ellipse for calligraphic brush tips.
- The modified objects are converted to curves and their shape is adjusted based on the selected brush type.
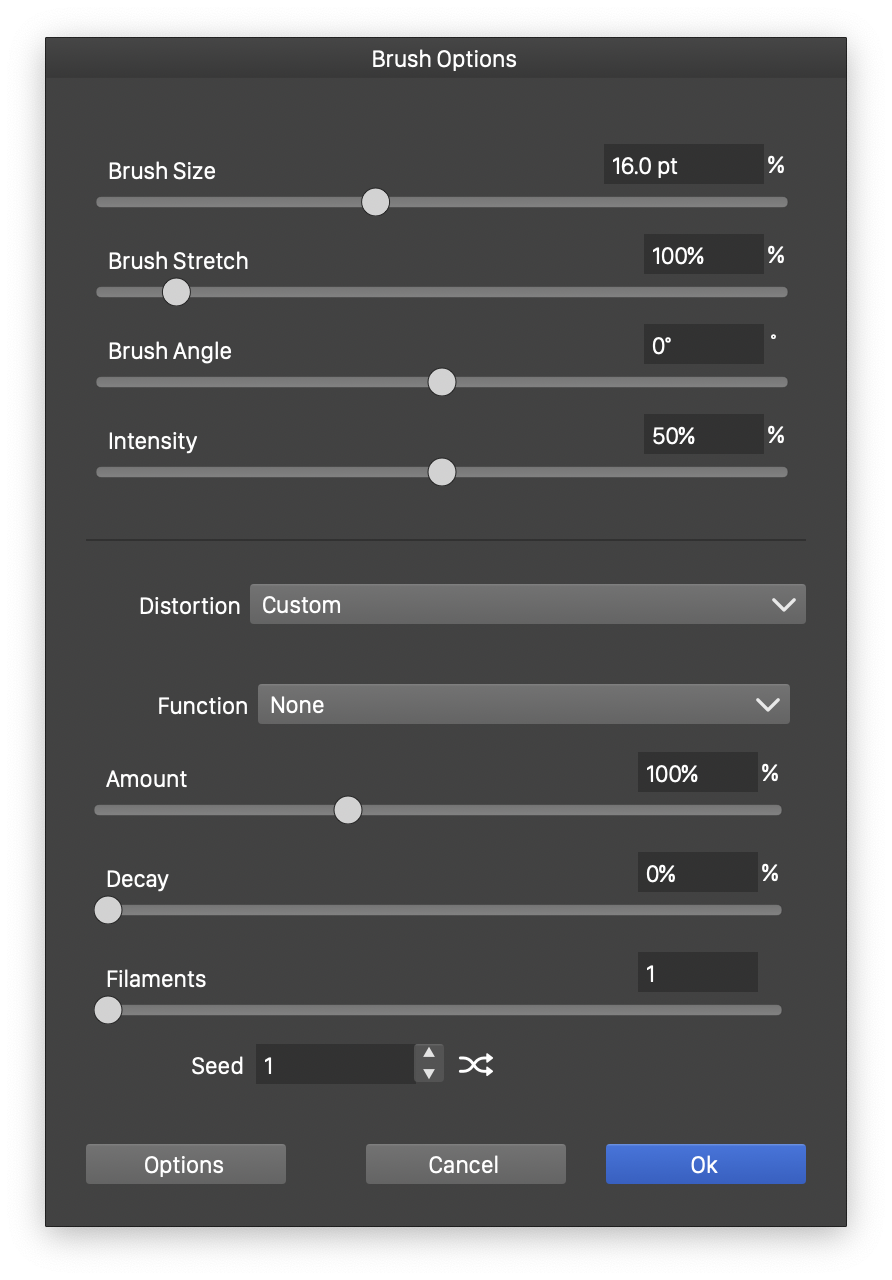
Common options of shape effect brushes.
Each shape effect brush type, contains a set of brush type specific options, and a set of common brush options. The common brush options control the size and shape of the brush tip.
- Brush Size - Set the size of the brush.
- Brush Stretch - Set the vertical stretching of the brush shape, creating a calligraphic brush tip.
- Brush Angle - Set the rotation angle of the stretched brush shape, creating a calligraphic brush tip.
- Intensity - Set the intensity of the distortions made by the brush.
- Distortion - A list of shape distortion effect styles and presets that can be reused to set the brush options. Shape distortion styles and presets can be created in the Shape Effects panel.
- Options - The precision of the shape distortion effects can be set by clicking on the Options button. This opens a shape effect options view as described in the Shape Effects Panel section.
Liquify Warp Brush
The Liquify Warp brush tool, stretches the shape nodes and curves in the direction of the brush paint, with varying intensity. The intensity and the number of high intensity locations are set in the brush options. The intensity of the stretching decays towards the margin of the brush region.
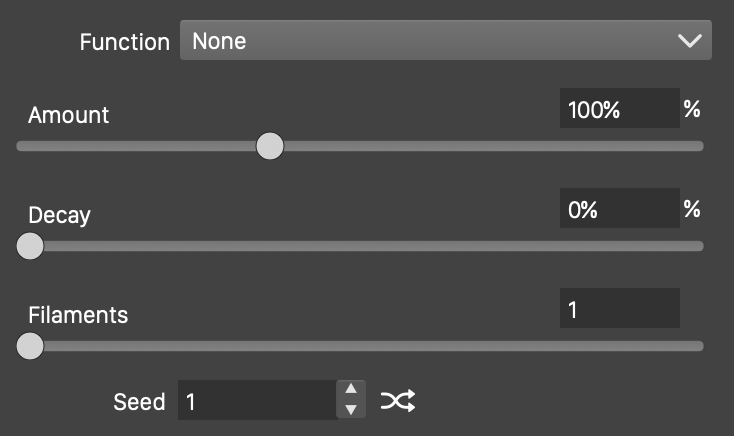
The options of the Liquify Warp brush.
The following options control the Liquify Warp brush tool:
- Function - Select the warp intensity variation function used by the liquify brush tool. The intensity of the shape changes are decaying towards the brush margin, based on the warp variation function.
- Amount - Set the amount of warp bending.
- Decay - Set the amount of decay between multiple filaments in the brush tip.
- Filaments - Set the number of filaments in the brush tip. The filament positions are generated randomly. The intensity of the liquify warp changes are the strongest at a brush filament position.
- Seed - Set the randomization seed used to generate the brush filament positions. The
 button can be used to pick random seed values.
Noise Wave Brush
The Noise Wave brush  tool, adjusts the shapes by applying a local Noise Wave effect of varying intensity on the painted shape regions.
The options of the Noise Wave brush.
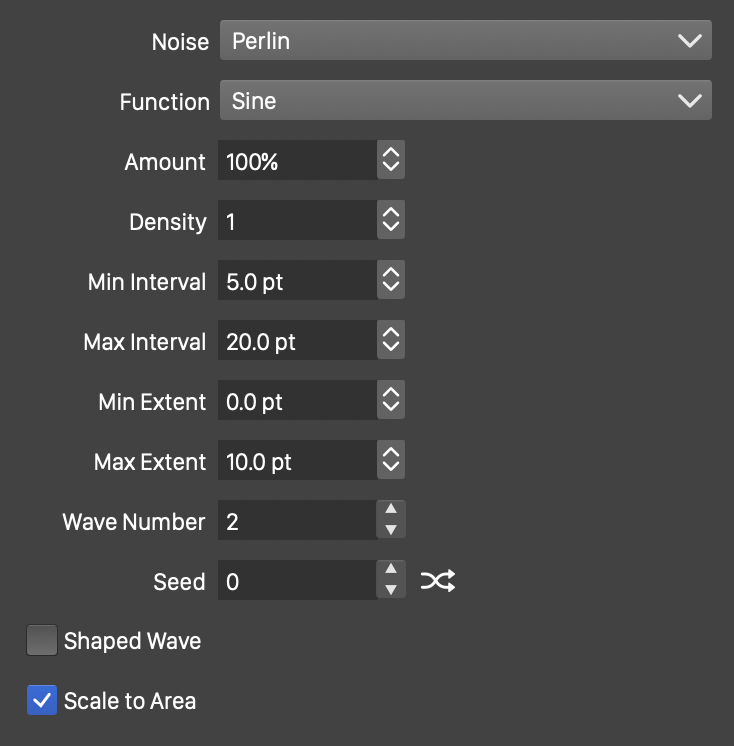
The following options control the Noise Wave brush tool:
- Noise - Select the noise style from the list of predefined noise types, or user defined noise presets and styles. To browse randomly generated synthetic noise styles, select the Browse Styles command. To edit the noise attributes, select the Edit Noise command. Selecting noise is described with more detail in the Noise chapter.
- Function - Edit the wave variation function. This option is visible if the Shaped Wave is not checked. The Edit Curve command opens the function editor view to edit cubic or monotone functions, defining the waving in the distortion.
- Shape - Select a shape preset or style, used for the wave variation. This option is visible if the Shaped Wave is checked. The shape can be edited using the path editor, by clicking on the
 button in the icon section of the panel.
 - Amount - Set the amount of noise used to adjust the waving strength.
- Density - Edit the noise density. Higher values result in lower frequency noise.
- Direction - Set the noise waving direction. The direction can also be adjusted interactively, using the primary
 shape effect editor tool.
 - Min Interval - Set the shortest wave length of the distortion.
- Max Interval - Set the maximum interval of the waving. Larger values result in longer waves.
- Min Extent - Set the shortest wave extent of the distortion.
- Max Extent - Set the maximum extent of the noise waving. The amplitude controls the height of a wave.
- Wave Number - Set the number of waves used to create the waving effect.
- Seed - Set the randomization seed used to generate waves. The button can be used to pick random seed values.
- Shaped Wave - Enable or disable the use of a shape (instead of a function) to control the waving distortion. When enabled, the Shape field is used to select a shape preset or style. When disabled, the Function field is used to control the waving.
- Scale to Area - Enable or disable the scaling of the selected wave shape to the filtered area.
Spikes Brush
The Spikes brush  tool, adjusts the shapes by applying a local Spikes effect of varying intensity on the painted shape regions.
The options of the Spikes brush.
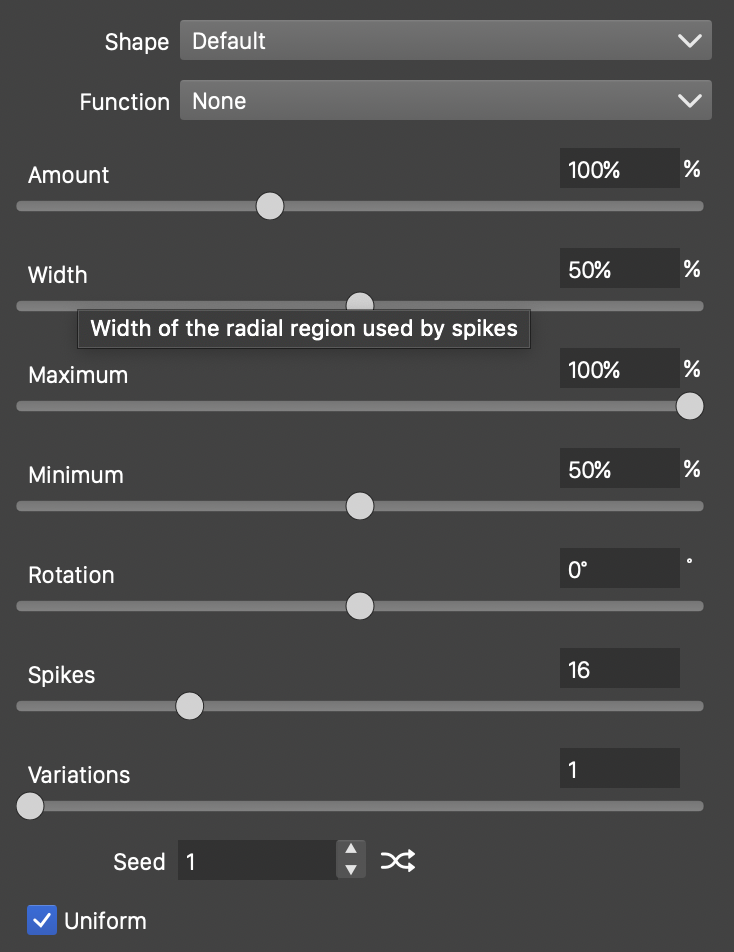
The following options control the Spikes brush tool:
- Shape - Select a shape preset or style, used in the spikes distortion. The shape can be edited using the path editor, by clicking on the button in the icon section of the panel.
- Function - Select the spikes variation function. The spikes variation is a user edited function, controlling the shape of the spikes. The Edit Curve command opens the function editor view to edit cubic or monotone functions, defining the spikes in the distortion.
- Amount - Edit the strength of the spikes.
- Width - Edit the width of the radial spike region. The width controls the extent of the spikes.
- Maximum - Set the maximum spike radius, relative to the available spike width.
- Minimum - Set the minimum spike radius, relative to the available spike width.
- Rotation - Sets the direction of the spikes distortion.
- Spikes - Edit the number of different spike levels.
- Variations - Edit the number of variations in spike lengths.
- Seed - Set the randomization seed used to generate the spikes. The button can be used to pick random seed values.
- Uniform - Enable or disable uniform spikes gaps. When disabled, spikes are positioned randomly. When enabled, the gap between spikes is uniformly distributed.
Perturbation Brush
The Perturbation brush  tool, adjusts the shapes by applying a local Perturbation effect of varying intensity on the painted shape regions.
The options of the Perturbation brush.
The following options control the Perturbation brush tool:
- Noise - Select the noise style from the list of predefined noise types, or user defined noise presets and styles. To browse randomly generated synthetic noise styles, select the Browse Styles command. To edit the noise attributes, select the Edit Noise command. Selecting noise is described with more detail in the Noise chapter.
- Horizontal - Set the amount of horizontal perturbation. The direction of the horizontal perturbation is determined by the angle set in the Direction field.
- Vertical - Set the amount of vertical perturbation. The direction of the vertical perturbation is determined by the angle set in the Direction field.
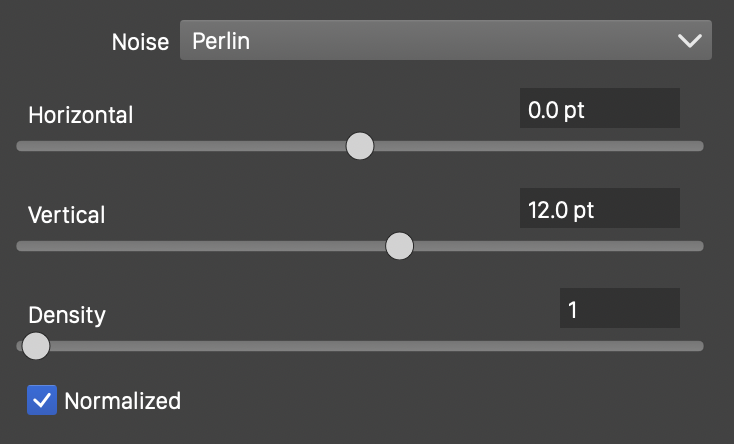
- Density - Edit the noise density. Higher values result in lower frequency noise.
- Normalized - Enable or disable the use of normalized noise amounts.
Ripple Brush
The Ripple brush  tool, adjusts the shapes by applying a local Ripple effect of varying intensity on the painted shape regions.

The options of the Ripple brush.
The following options control the Ripple brush tool:
- Noise - Select the noise style from the list of predefined noise types, or user defined noise presets and styles. To browse randomly generated synthetic noise styles, select the Browse Styles command. To edit the noise attributes, select the Edit Noise command. Selecting noise is described with more detail in the Noise chapter.
- Shape - Select a shape preset or style, used as the ripple shape. The shape can be edited interactively using the path editor, by clicking on the button in the icon section of the panel.
- Angular - Set the amount of angular ripple distortion.
- Radial - Set the amount of radial ripple distortion.
- Density - Edit the noise density. Higher values result in lower frequency noise.
- Normalized - Enable or disable the use of normalized noise amounts.
Lens Brush
The Lens brush  tool, adjusts the shapes by applying a local Torus Lens effect of varying intensity on the painted shape regions.
The options of the Lens brush.
The following options control the Lens brush tool:
- Lens - Select the lensing variation function. The lensing variation is a user edited function, controlling the lensing amount. The Edit Curve command opens the function editor view to edit cubic or monotone functions, defining the lensing in the distortion.
- Shape - Select a shape preset or style, used in the torus lens distortion. The shape can be edited using the path editor, by clicking on the button in the icon section of the panel.
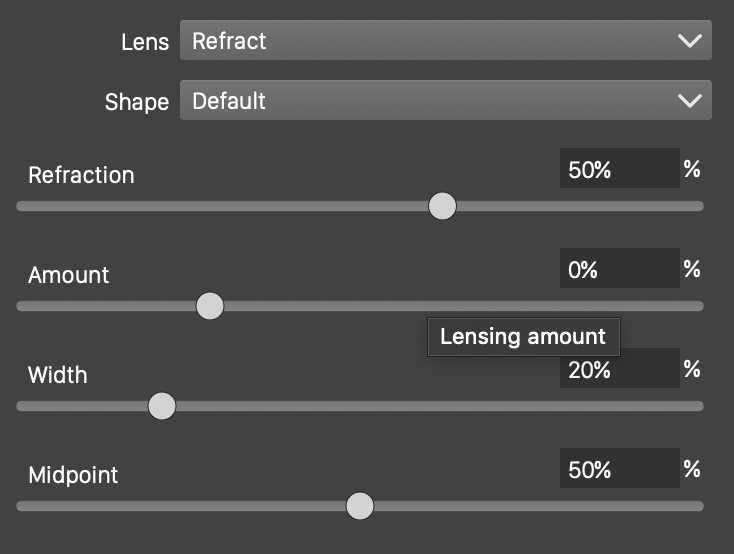
- Refraction - Edit the amount of refraction in the lensing effect.
- Amount - Edit the lensing amount.
- Width - Edit the width of the lensing region, relative to the object size.
- Midpoint - Edit the midpoint of the lensing distortion.
Hole Brush
The Hole brush  tool, adjusts the shapes by applying a local Hole effect of varying intensity on the painted shape regions.
The options of the Hole brush.
The following options control the Hole brush tool:
- Shape - Select the shape of the hole, from the list of shape presets, styles and object references with the Shape role. The shape can be edited using the path editor, by clicking on the button in the icon section of the panel.
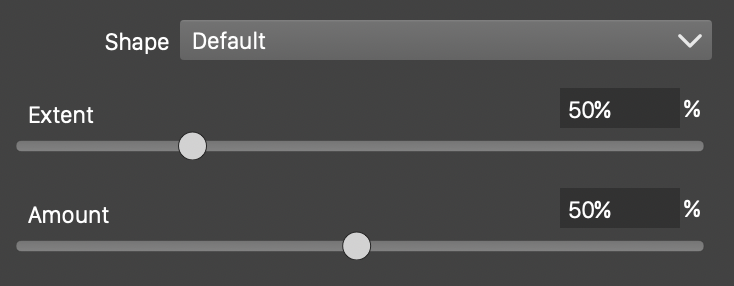
- Extent - Set the extent of the hole distortion. The extent determines the region of the objects adjusted by the hole distortion.
- Amount - Set the hole distortion amount. Smaller values result in larger distortion and more stretching of the shape outward from the hole.
Shape Bump Brush
The Shape Bump brush  tool, adjusts the shapes by applying a local Shape Bump effect of varying intensity on the painted shape regions.
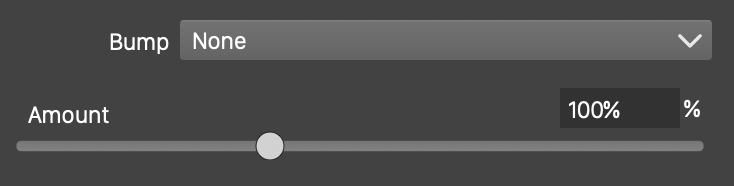
The options of the Shape Bump brush.
The following options control the Shape Bump brush tool:
- Bump - Select a function for the bump stretching transition. The Cubic and Monotone Cubic functions are edited by selecting the Edit Curve command.
- Shape - Select a shape preset or style, used in the bump distortion. The shape can be edited using the path editor, by clicking on the button in the icon section of the panel.
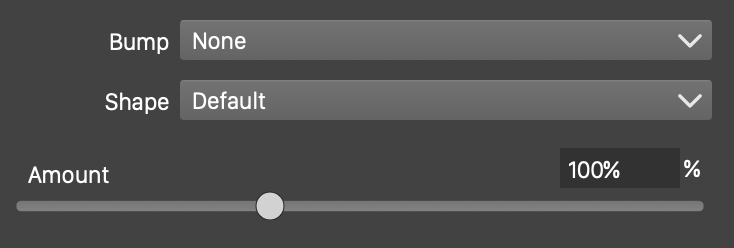
- Amount - Set the amount of bump distortion. For values larger than 0%, the distortion stretches the shapes outwards from the center. For values smaller than 0%, the distortion stretches the shapes inwards to the center.
Wave Brush
The Wave brush  tool, adjusts the shapes by applying a local Wave effect of varying intensity on the painted shape regions.
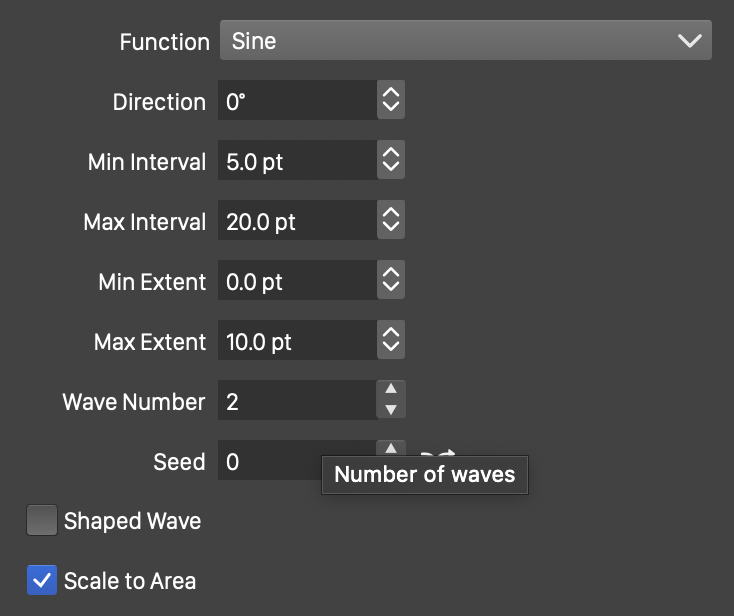
The options of the Wave brush.
The following options control the Wave brush tool:
- Function - Edit the wave variation function. This option is visible if the Shaped Wave is not checked. The Edit Curve command opens the function editor view to edit cubic or monotone functions, defining the waving in the distortion.
- Shape - Select a shape preset or style, used for the wave variation. This option is visible if the Shaped Wave is checked. The shape can be edited using the path editor, by clicking on the button in the icon section of the panel.
- Direction - Set the waving direction. The direction can also be adjusted interactively, using the primary shape effect editor tool.
- Min Interval - Set the shortest wave length of the distortion.
- Max Interval - Set the maximum interval of the waving. Larger values result in longer waves.
- Min Extent - Set the shortest wave extent of the distortion.
- Max Extent - Set the maximum extent of the waving. The amplitude controls the height of a wave.
- Wave Number - Set the number of waves used to create the waving effect.
- Seed - Set the randomization seed used to generate waves. The button can be used to pick random seed values.
- Shaped Wave - Enable or disable the use of a shape (instead of a function) to control the waving distortion. When enabled, the Shape field is used to select a shape preset or style. When disabled, the Function field is used to control the waving.
- Scale to Area - Enable or disable the scaling of the selected wave shape to the filtered area.
ZigZag Brush
The ZigZag brush  tool, adjusts the shapes by applying a local ZigZag effect of varying intensity on the painted shape regions.
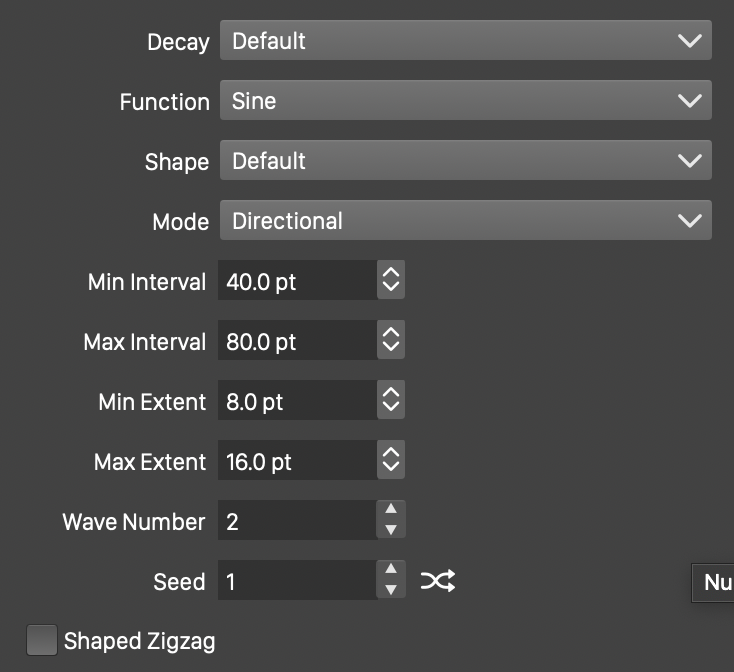
The options of the ZigZag brush.
The following options control the ZigZag brush tool:
- Function - Edit the zigzag variation function. This option is visible if the Shaped Zigzag is not checked. The Edit Curve command opens the function editor view to edit cubic or monotone functions, defining the strength of the jaggedness in the distortion.
- Wave - Select a shape preset or style, used for the zigzag variation. This option is visible if the Shaped Zigzag is checked.
- Shape - Select a shape preset or style, used as the zigzag direction shape. The zigzag shape controls the direction of the jagged waves. The shape can be edited interactively using the path editor, by clicking on the button in the icon section of the panel.
- Mode - Select the jaggedness mode, controlling the direction of the jagged waves. This can be:
- Angular - The jagged waves are stretching around the center, adjusting the angle, but not the distance, of a shape location relative to the center
- Concentric - The jagged waves are stretching to or from the center, adjusting the distance, but not the angle, of a shape location relative to the center
- Directional - The jagged waves are adjusting the shape at a specific direction, set in the Direction field.
- Min Interval - Set the shortest wave length of the distortion.
- Max Interval - Set the maximum interval of the jaggedness. Larger values result in longer period of the waves.
- Min Extent - Set the shortest wave extent of the distortion.
- Max Extent - Set the maximum extent of the noise jaggedness. The amplitude controls the height of a wave.
- Wave Number - Set the number of waves used to create the jaggedness effect.
- Seed - Set the randomization seed used to generate jaggedness. The button can be used to pick random seed values.
- Shaped Zigzag - Enable or disable the use of a shape (instead of a function) to control the zigzag distortion. When enabled, the Shape field is used to select a shape preset or style. When disabled, the Function field is used to control the jaggedness.
Noise ZigZag Brush
The Noise ZigZag brush  tool, adjusts the shapes by applying a local Noise ZigZag effect of varying intensity on the painted shape regions.
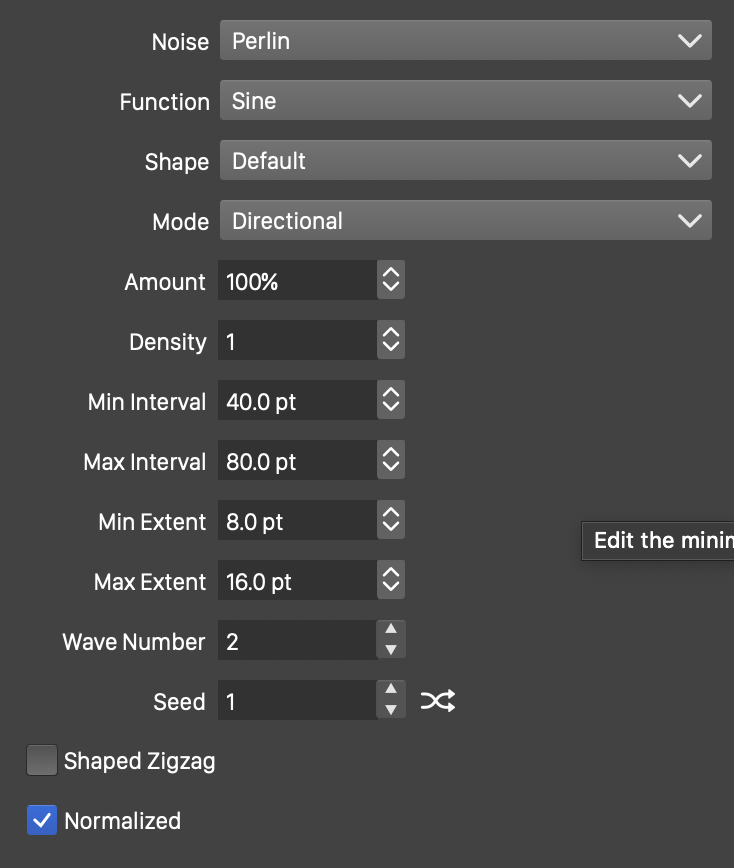
The options of the Noise ZigZag brush.
The following options control the Noise ZigZag brush tool:
-
Noise - Select the noise style from the list of predefined noise types, or user defined noise presets and styles. To browse randomly generated synthetic noise styles, select the Browse Styles command. To edit the noise attributes, select the Edit Noise command. Selecting noise is described with more detail in the Noise chapter.
-
Mode - Select the jaggedness mode, controlling the direction of the jagged waves. This can be:
- Angular - The jagged waves are stretching around the center, adjusting the angle, but not the distance, of a shape location relative to the center
- Concentric - The jagged waves are stretching to or from the center, adjusting the distance, but not the angle, of a shape location relative to the center
- Directional - The jagged waves are adjusting the shape at a specific direction, set in the Direction field.
-
Function - Edit the zigzag variation function. This option is visible if the Shaped Zigzag is not checked. The Edit Curve command opens the function editor view to edit cubic or monotone functions, defining the strength of the jaggedness in the distortion.
-
Wave - Select a shape preset or style, used for the zigzag variation. This option is visible if the Shaped Zigzag is checked.
-
Shape - Select a shape preset or style, used as the zigzag direction shape. The zigzag shape controls the direction of the jagged waves. The shape can be edited interactively using the path editor, by clicking on the
button in the icon section of the panel. -
Amount - Set the amount of noise used to adjust the jaggedness strength.
-
Density - Edit the noise density. Higher values result in lower frequency noise.
-
Min Interval - Set the shortest wave length of the distortion.
-
Max Interval - Set the maximum interval of the jaggedness. Larger values result in longer period of the waves.
-
Min Extent - Set the shortest wave extent of the distortion.
-
Max Extent - Set the maximum extent of the noise jaggedness. The amplitude controls the height of a wave.
-
Wave Number - Set the number of waves used to create the jaggedness effect.
-
Seed - Set the randomization seed used to generate jaggedness. The
button can be used to pick random seed values. -
Shaped Zigzag - Enable or disable the use of a shape (instead of a function) to control the zigzag distortion. When enabled, the Shape field is used to select a shape preset or style. When disabled, the Function field is used to control the jaggedness.
-
Normalized - Enable or disable the use of normalized noise amounts.
Twirl Brush
The Twirl brush  tool, adjusts the shapes by applying a local Twirl effect of varying intensity on the painted shape regions.
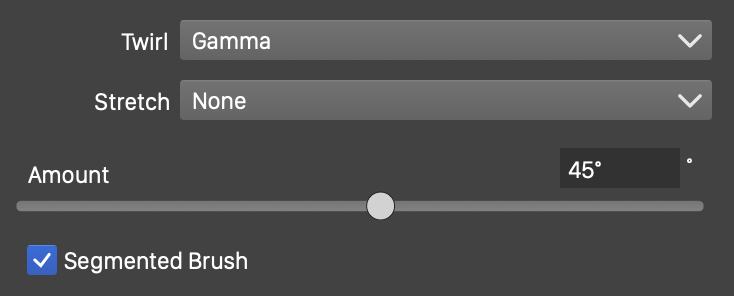
The options of the Twirl brush.
The following options control the Twirl brush tool:
- Twirl - Select the twirling variation function. The twirling variation is a user edited function, controlling the amount of twirl from the center towards the margin. The Edit Curve command opens the function editor view to edit cubic or monotone functions.
- Stretch - Select the stretching variation function. The stretching variation is a user edited function, controlling the amount of inward and outward stretching of the shapes. The Edit Curve command opens the function editor view to edit cubic or monotone functions.
- Amount - Set the amount of twirl distortion. This will be the largest rotation angle used at the center of the twirl.
- Segmented Brush - Enables the accumulation of the twirl effect intensity from the brush strokes.
Circular Bump Brush
The Circular Bump brush  tool, adjusts the shapes by applying a local Circular Bump effect of varying intensity on the painted shape regions.
The options of the Circular Bump brush.
The following options control the Circular Bump brush tool:
- Bump - Select a function for the bump stretching transition. The Cubic and Monotone Cubic functions are edited by selecting the Edit Curve command.
- Amount - Set the amount of bump distortion. For values larger than 0%, the distortion stretches the shapes outwards from the center. For values smaller than 0%, the distortion stretches the shapes inwards to the center.


