Creating 3D Templates for further Processing in VS. A (relative) easy Way.
-
Direct Links to the Parts:
Some basics and a Video how to create a Grid in MagiaVoxel.
https://www.vectorstyler.com/forum/topic/2534/creating-3d-templates-for-further-processing-in-vs-a-relative-easy-way/2
.
How to create a 3D object only from a image in MV
https://www.vectorstyler.com/forum/topic/2534/creating-3d-templates-for-further-processing-in-vs-a-relative-easy-way/3
.
If you want dig deeper in MagicaVoxel i recommend
ArtChanny´s Youtube channel.
Link and Video Tip
https://www.vectorstyler.com/forum/topic/2534/creating-3d-templates-for-further-processing-in-vs-a-relative-easy-way/4
.
.
First Part starting here:
This is not a pure VectorStyler tutorial. I show a few usage examples with the VoxelEditor "MacigaVoxel". (PC/Mac)
Which can be used as a tool for creating perspective grid templates and can also be used
to create simple 3D objects.Here the Download Link:
https://ephtracy.github.io/
.
.
VectorStyler has, with the 4-point distortion Tool, also a Tool for creating perspective graphics.
But perspective offset in depth does not work as desired. But improvements
have already been announced for this.
.
.
However, a 3D program as a aid tool offers a few more possibilities.
Even if you then have to convert the template into a vector graphic.
.
.
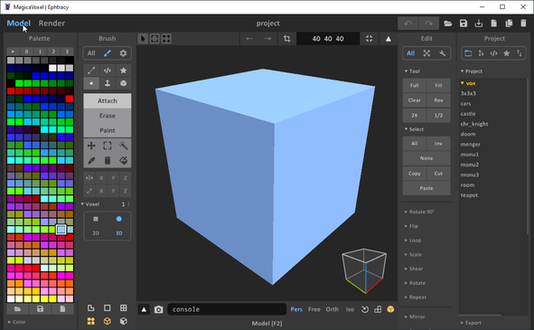
Some of you may know "MagicaVoxel" (PC/Mac) from ephtracy.
The Objects you create with it consist of small cubes and therefore look
kind of pixelated. If you can live with this circumstance it is, in my opinion,
quite interesting to use.
.
.
I show only a few usage Examples and no Tutorial for MagicaVoxel.
You will find more than enough MagicaVoxel Tutorials on Youtube.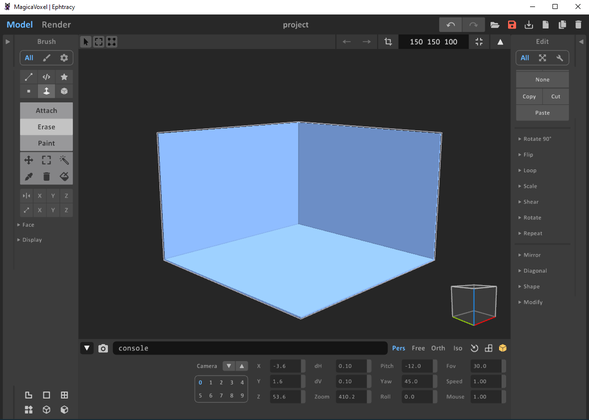
.
.
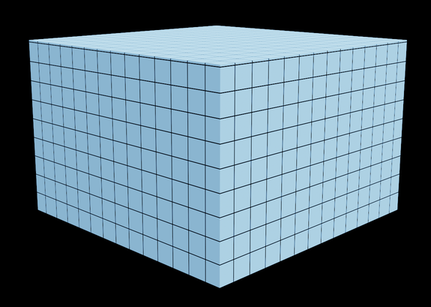
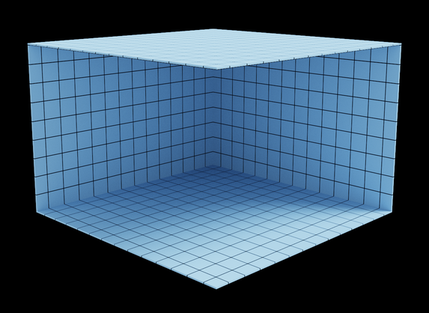
One nice Feature of it, you could overlay each Object with a Grid.
Save it as a Bitmap which can either be used as a drawing Aid
or can be traced in VS. This Grid can be resized by the way
.
.
.
.
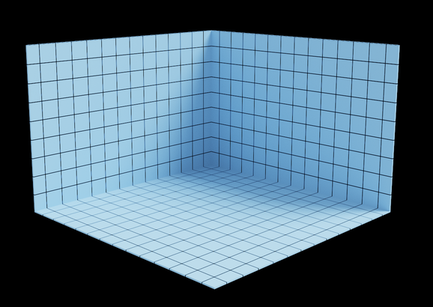
Grids with Perspective distortion (MagicaVoxels Panorama Camera)
-
Some basics and a Video how to create a Grid in MagiaVoxel.
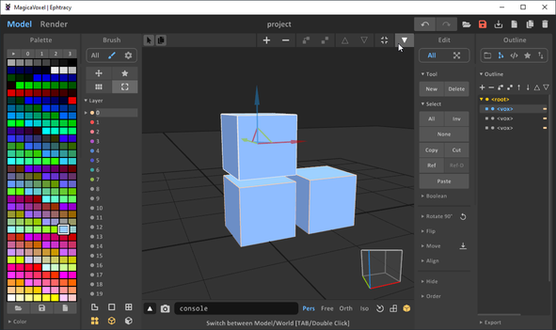
The basic areas of MV are divided into the following:
The Model Mode
Here the Model/Cube are created.
.
.
The World Mode
In this mode you would combine several models/cubes
to one big Scenery or Object.
.
.
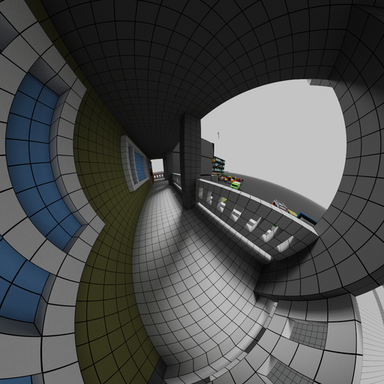
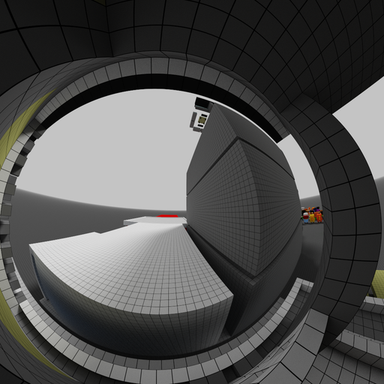
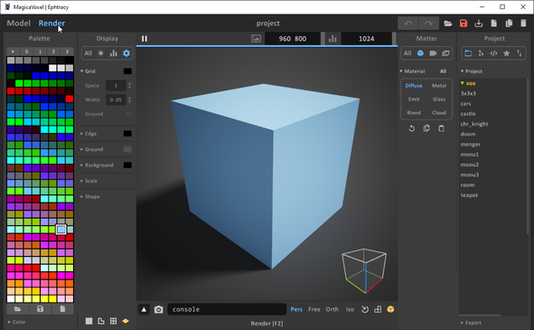
The Renderer Mode
We use this mode mainly for calculation of the grid and
for special settings (perspective distortions) of the camera.
In addition, you can assign a material here (glass, metal and light)
via the color of an object.
.
.
Here is a video that gives a small overview in MagicaVoxel, re-upload
.
.
One neat Feature in MagicaVoxel, aside from grids over objects,
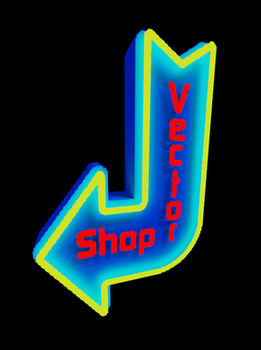
is that you can use a .PNG image to create a Model.Here an example:
I created this in VectorStyler, exported it as two .PNG images
and dragged and dropped them into MagicaVoxel.
.
.

.
.
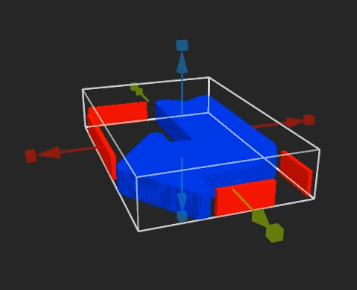
And created this 3D object from it
.
.
I'll describe how to do that in the next part. -
Here now the how to create a 3D object only from a image in MV .
Pic from the Video
.
.I describe here some Steps seen in the Video:
The designs were created with VectorStyler.
I put a subframe around the graphics (which I delete
later in MV). With that Subframe all Parts will have the
right proportion when i import them in MV.I export each graphic individually as a PNG file and set the
background to transparent in the export settings of VS.In addition, i exported also the colors used in the VS file,
as a separate PNG-file. This PNG-file can be loaded into MV's
color palette. This is helpful for material assignment in MV.I import the base and give it a thickness.
(It is also possible to make an object hollow by
pressing the "Hull" button).
Then I delete the subframe, import the other two images
and delete the subframes there too. Finally, I arrange
the objects a bit.Now this is where the colors come into play. Colors are
used in MV to assign a material to an object. I choose the
color blue and assign transparency (glass) to the object color.
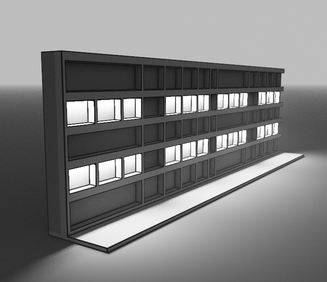
To the other two object colors I give Emission for light effects.Experiment a bit with images, you can use text or symbol fonts
and sketch sci-fi walls or simple objects.Here a few examples:
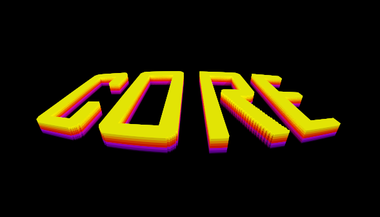
.
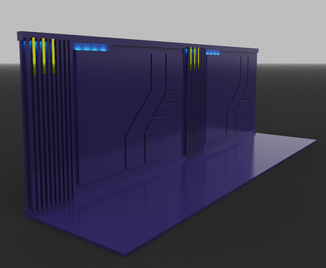
.
The bicycle is only a symbol (letter) from a symbol font
to which I have assigned only some thickness
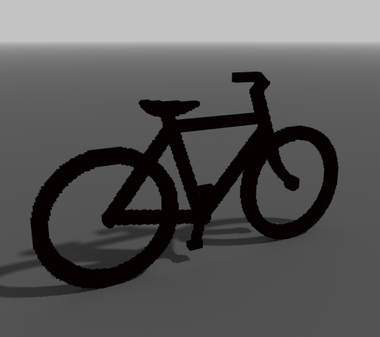
.
-
If you want to dig deeper into MagicaVoxel, learn some basics
and see what's possible with it. I can highly recommend the
Youtube channel of ArtChanny.Here the Link
https://www.youtube.com/@ArtChanny97Here a Video from him with some speed up tips for Object creation
Apart from that there are many Tutorials on Youtube
for MagicaVoxel. -
@Subpath
The beauty of Sophia Loren cannot be replaced. And neither can talent. You may not be pretty but you sure as hell are talented. You willingness to share your gift is the highest form of education. And you are an educator. Thank you so much.
steve -
thank you
I don't see that as so special. Because where would we all be
if someone had not shared his knowledge with us.And no one becomes poorer or dumber, not the one
who shares it and not the one who can use it. -
@Subpath said in Creating 3D Templates for further Processing in VS. A (relative) easy Way.:
And no one becomes poorer or dumber, not the one
who shares it and not the one who can use it.Love that! Thanks for sharing generously @Subpath
-
@syllie
your welcome")