Character Options
The details of the character formatting options can be selected using the Character Options command from the Text menu. This opens the Character Style view, containing multiple sections. A character option section is selected in the list located on the left side of the view.
The Character Style view is also used when editing character styles from the Character Style panel, or when managing character style overrides in the Overrides panel.
The following common options are available in the Character Style view:
- Style - Contains a list of character formatting presets and styles. The Create Style command saves the current character options as a new character style. The Create Preset command saves the current character options as a new character preset. Typically, character formatting options are saved and reused as styles.
- The left side of the view contains the list of sections with character formatting options. Select a section to edit the respective formatting options.
- Changes - Open a menu of character formatting option names, to enable or disable the selection of specific options. When applying character options (or creating character styles), it is possible to change only a subset of options, leaving the other formatting options as they were on the selected text. By default, the option changing is automatically enabled, when the corresponding value is changed in one of the sections of the view. Options can be individually enabled or disabled, by checking or unchecking in the menu opened with the Changes button.
- Preview - Enable or disable the previewing of selected character formatting options.
Font Section
The Font section is used to select the font family, style and size, and various character spacing options.

The Character Style view with the Font section.
- Font - Open the font selector view, to select the font family and style. The font selector is described in more detail in the Fonts section.
- Style - Open a list of the available font styles. The name and shape of font styles depend on the selected font family.
- Size - Select or edit the font size.
- Tracking - Edit the uniform character spacing.
- Word Space - Edit the spacing between words.
- Kerning - Select the kerning mode for the characters. The kerning is a glyph specific spacing, between pairs of glyphs. The following options are available:
- None - There is no kerning between glyphs.
- Font - The kerning pairs, defined in the font, are used to space pairs of characters. This can be increased or decreased, using the specified amount.
- Optical - The kerning pairs are calculated using an optical method over the shape of the two glyphs. The resulting kerning can be increased or decreased, using the amount in the numeric field.
- Leading - Set the character leading, the spacing between lines of text. The leading can be:
- Auto - Automatic leading, here the line spacing is calculated based on the leading amounts from the font, plus the user defined value.
- Fixed - Line spacing is set to a fixed amount.
- Height - Line spacing is set to the font XHeight plus a fixed amount.
Typography Section
The Typography section contains various OpenType features and options, spelling and hyphenation languages, and stretching selection.
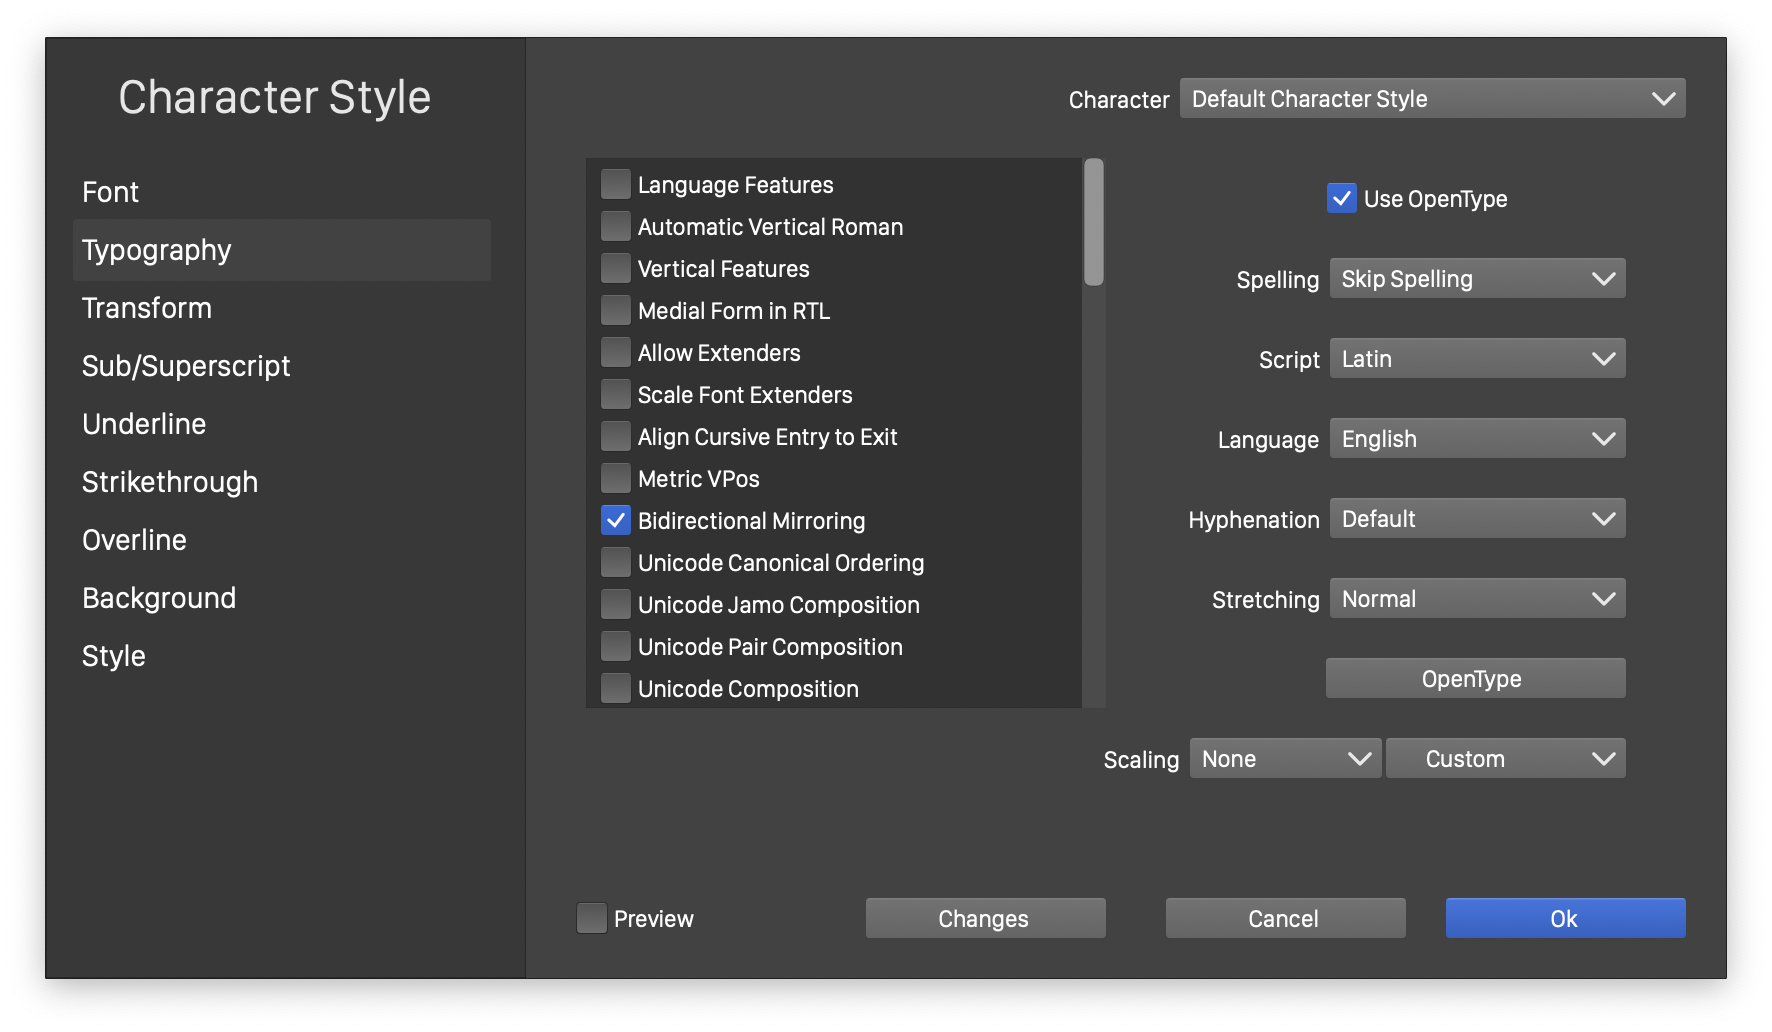
The Character Style view with the Typography section.
- The list of check boxes is used to enable or disable various options in the character style. Most of these options are used to select OpenType features.
- Use OpenType - Enable or disable the use of OpenType features.
- Spelling - Select the spelling language.
- Script - Select a script, supported by the selected font.
- Language - Select the language used in selecting OpenType features from the current font.
- Hyphenation - Select the hyphenation dictionary for the text.
- Stretching - Select a stretching mode for the character format. The stretching mode determines how the glyphs are stretched when compositing a paragraph into a text frame.
- OpenType - Open a menu of OpenType features, to enable or disable individual features.
Transform Section
When formatting text in a shape or in a frame, the individual characters of the text can be moved and transformed. The character scaling, rotation and movement can be edited interactively using the Character  tool.
tool.
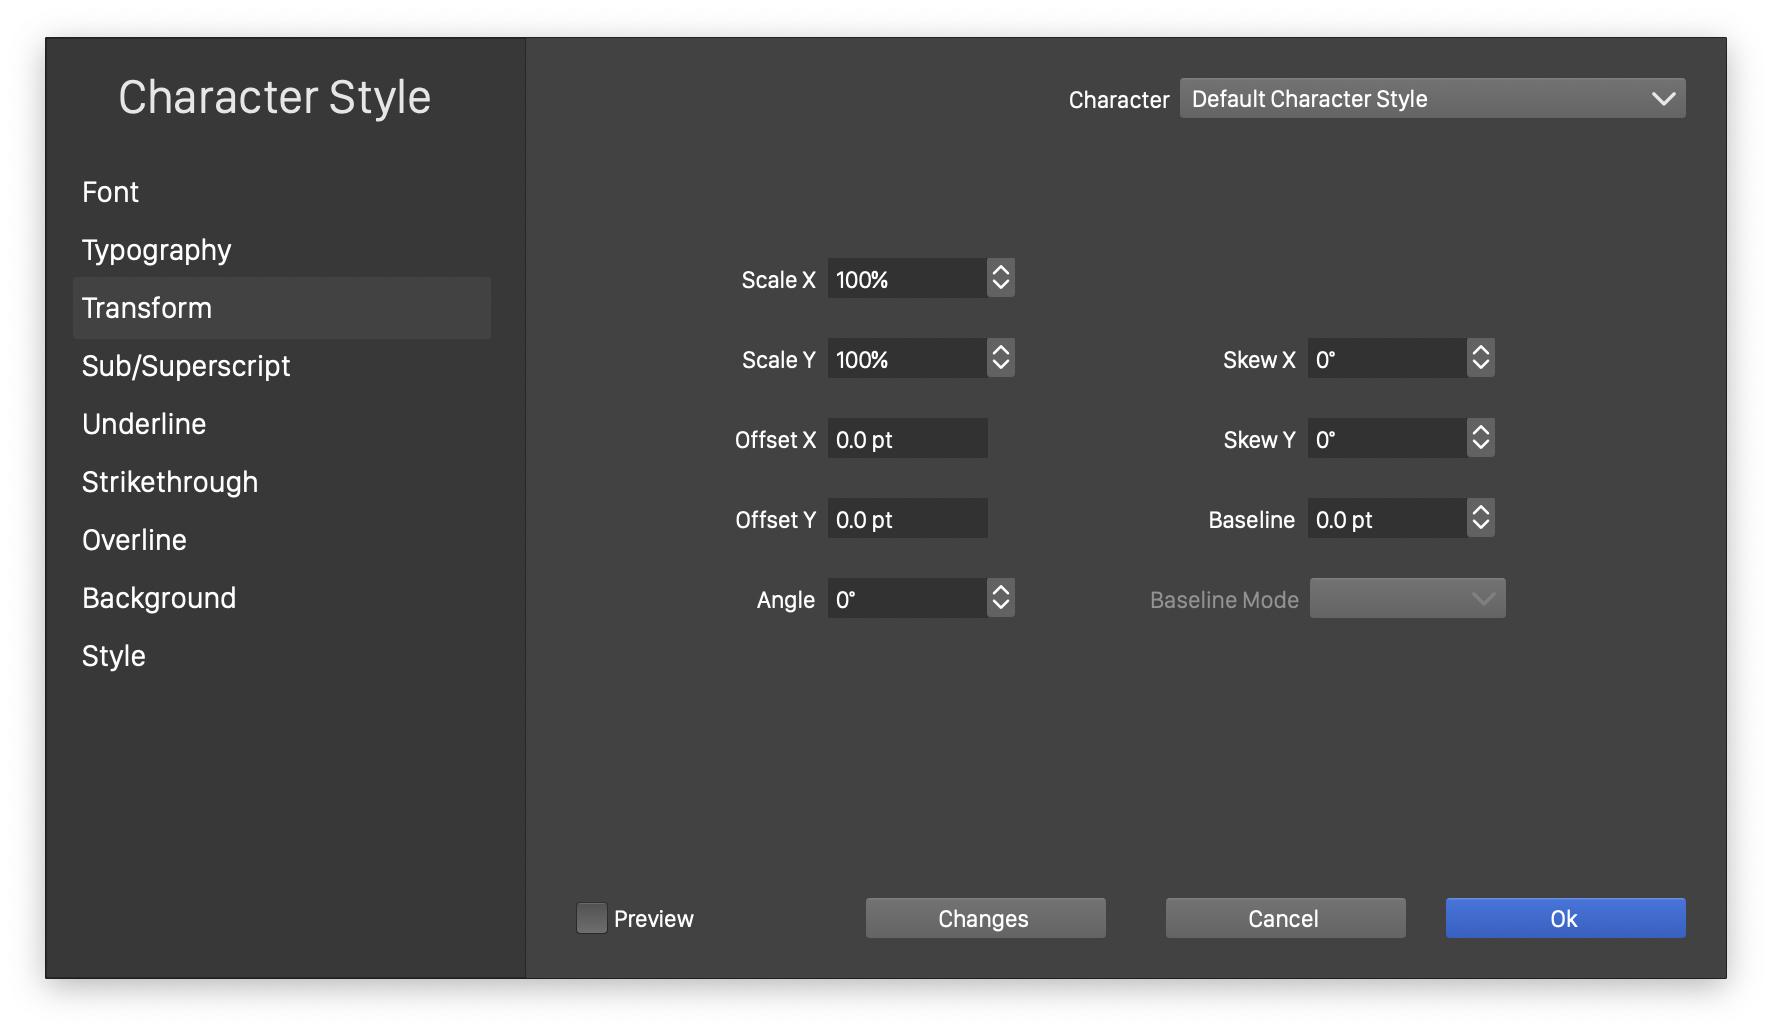
The Character Style view with the Transform section.
The Transform section of the Character Style view contains the numeric values of the character movement, scaling, rotation and skewing.
- Scale X - Edit the horizontal stretching of the glyphs. The scaling amount will change the glyph extent used when formatting text.
- Scale Y - Edit the vertical stretching of the glyphs.
- Offset X - Edit the horizontal offset of the character positions. Offsetting the characters may cause overlap with other characters. The offset amount is not taken into account when formatting a paragraph of text.
- Offset Y - Edit the vertical offset of the character positions.
- Angle - Edit the rotation angle of the glyphs. The glyph rotation is not taken into account when formatting text, and may cause overlapping glyphs.
- Skew X - Edit the horizontal skewing angle of the glyphs.
- Skew Y - Edit the vertical skewing angle of the glyphs. The glyph skewing is not taken into account when formatting text, and may cause overlapping glyphs.
- Baseline - Edit the baseline shift of the characters.
- Baseline Mode - Select the OpenType baseline mode. This field is active if the selected font contains OpenType baseline options.
Sub/Superscript Section
The subscript and superscript options are used to scale and position characters, with the subscript or superscript option enabled. The subscript or superscript options can also be enabled or disabled, from the Character panel.
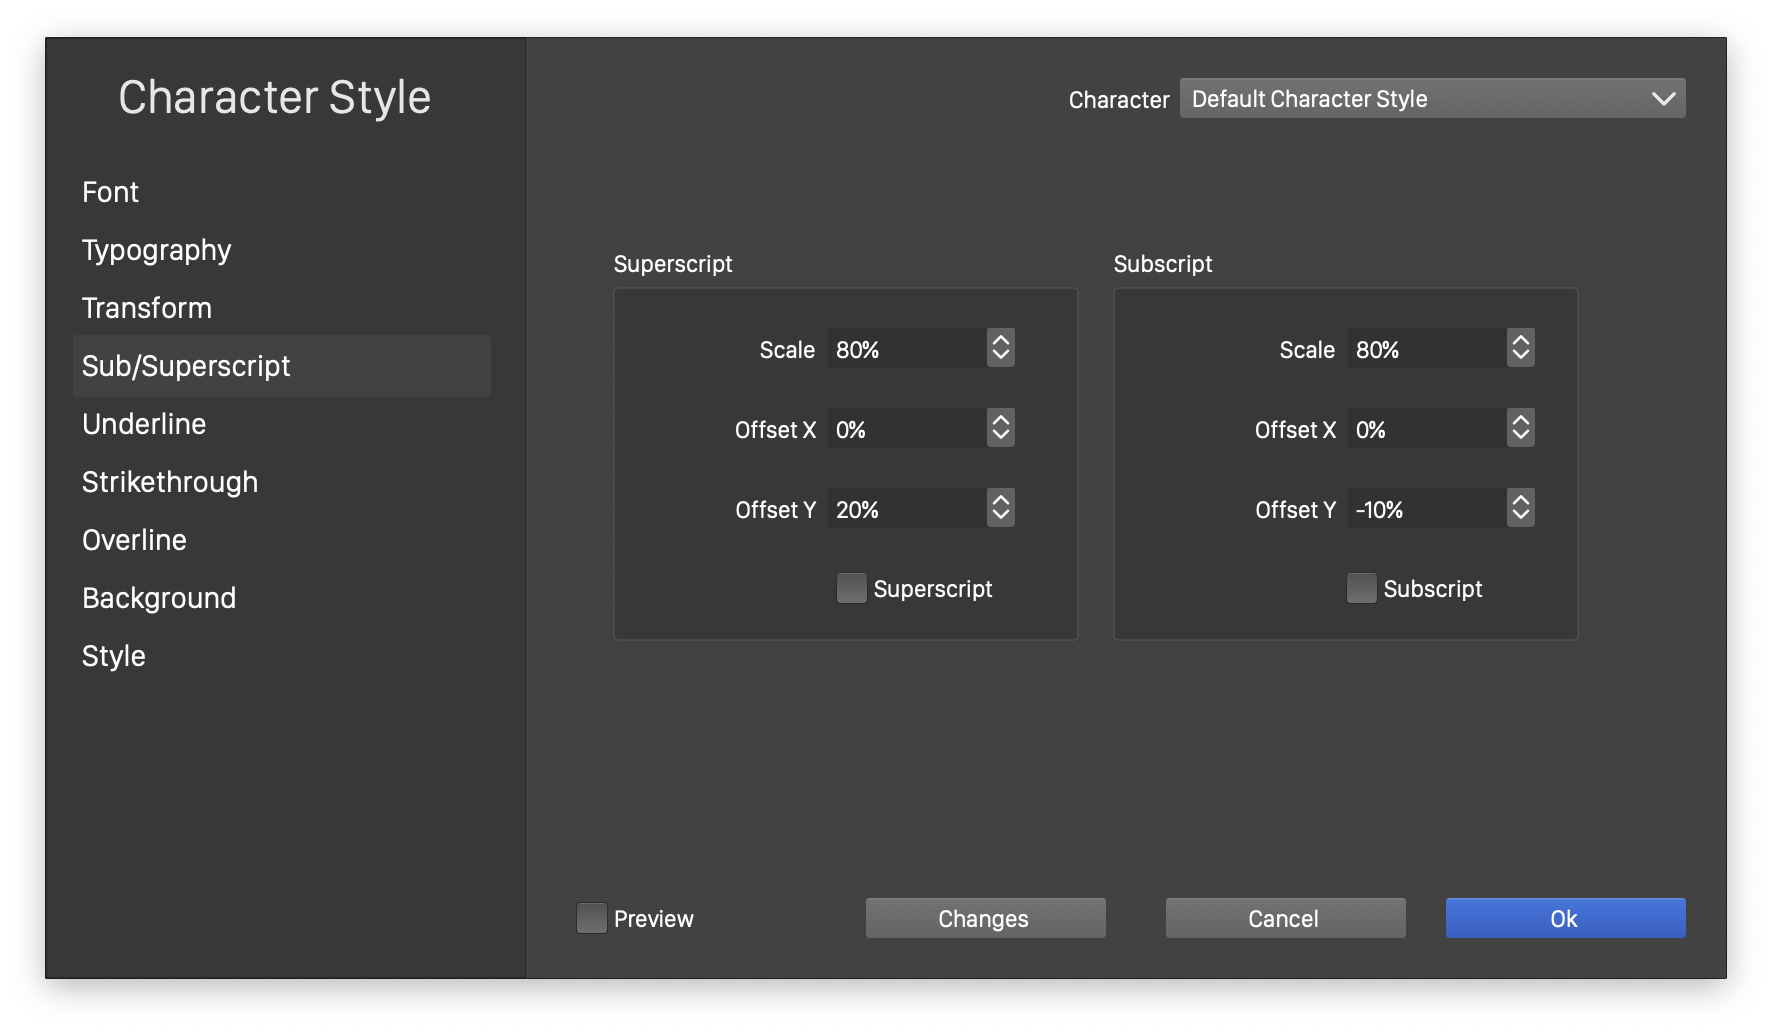
The Character Style view with the Sub/Superscript section.
- The superscript options are edited in the Superscript group of fields.
- The subscript options are edited in the Subscript group of fields.
- Both groups contain similar fields to edit the offset and scaling.
- Scale - Edit the scaling of the font size, when the characters are in superscript or subscript mode.
- Offset X - Edit the horizontal offset, relative to the font size.
- Offset Y - Edit the vertical offset, relative to the font size.
- Superscript - Enable or disable the superscript mode of the selected characters.
- Subscript - Enable or disable the subscript mode of the selected characters.
Underline, Strikethrough, and Overline
The Character Style view contains separate sections for the underline, strikethrough and overline options. These are text decoration options, that can also be selected using the Text Decorations panel. The underline, strikethrough and overline settings contain the same options, used to setup a line decorating the selected characters.
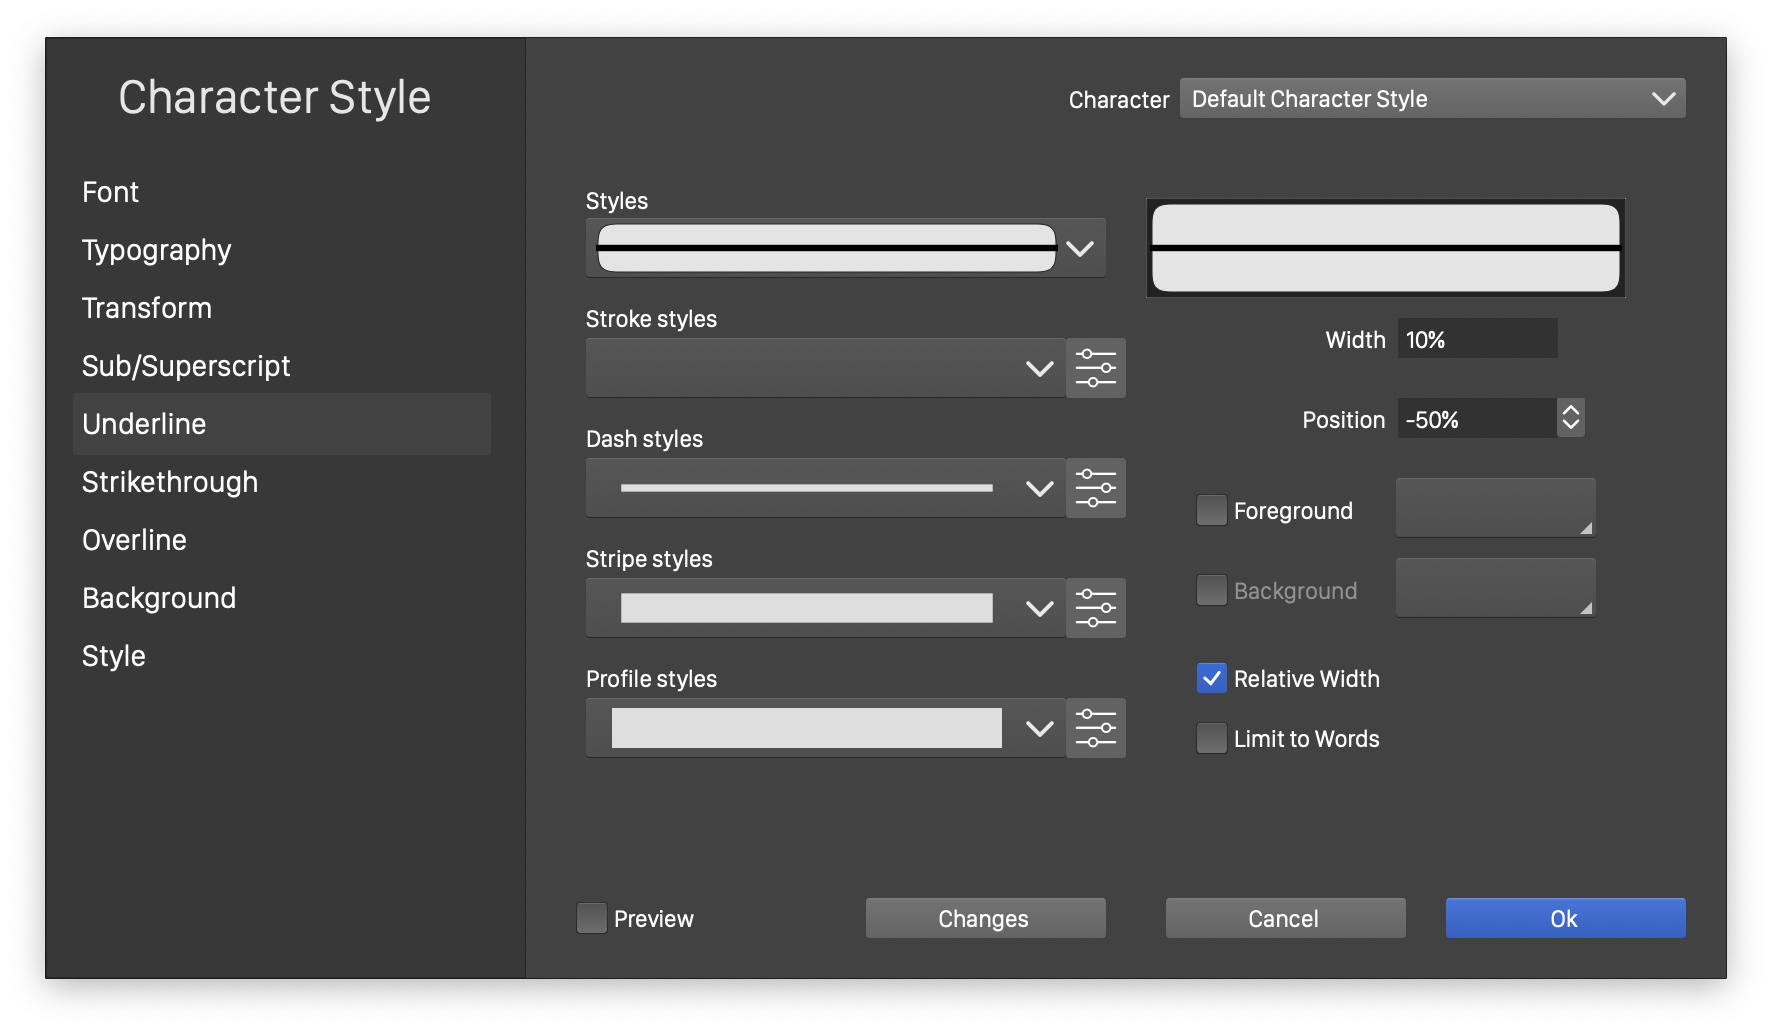
The Character Style view with the Underline section.
The underline, strikethrough and overline options are also called text lining options, and their settings are interchangeable, using text lining presets or styles. The text lining presets or styles can be created using the various text lining commands found in the Text Decorations panel menu (see below).
- Styles - Select a text lining preset or style. The same text lining presets and styles can be reused for underline, strikethrough and overline options.
- Stroke Styles - Select a stroke style or preset. Any previously saved stroke style or preset can be reused in creating a text lining style. The
 button at the end of the Stroke Styles field, edits the stroke attributes used in the text lining style.
 - Dash Styles - Select a dash style or preset. Any previously saved dash style or preset can be used in a text lining style. The
 button at the end of the Dash Styles - Edit the dash options used in the text lining style.
 - Stripe Styles - Select a stripe style or preset. Any previously saved stripe style or preset can be used in a text lining style. The button at the end of the Stripe Styles field, edits the stripe options used in the text lining style.
- Profile Styles - Select a variable width profile style or preset. Any previously saved variable width profile style or preset can be used in a text lining style. The button at the end of the Stripe Styles field, edits the stripe options used in the text lining style. The variable width profile is used in a text lining style to adjust the local width of the underline, strikethrough or overline, along the characters.
- Foreground - Enable or disable the use of a local color or fill style for the text lining style. When disabled, the text fill style is used to show the text lining. When enabled, a separate fill style can be selected for the text lining, by clicking on the fill preview button next to the check box.
- Background - Enable or disable the use of a local background color or fill style for the text lining style. The text lining is a stroke outline, shown under, through or over the text. This stroke may have a background region, depending on the dash and stripe selections. When disabled, the background fill style in the text lining is empty. When enabled, a separate background fill style can be selected for the gaps caused by dashes or stripes in the text lining.
- Position - Edit the position of the text lining, relative to the text baseline, in percentages relative to the font size. Negative values will position the line under the baseline, whole positive values will position it over the text baseline. The position determines whether the text lining is an underline, strikethrough or overline element.
- Width - Edit the width of text stroke used in the text lining. By default, the width is set in percentages, relative to the font size. It can also be edited in absolute values, by unchecking the Relative Width check box. When an absolute width value is used, the text lining width will not depend on the font size.
- Relative Width - Enable or disable the relative width for text lining. When enabled, the text lining width is set in percentages of the font size. When disabled, the text lining width is set in absolute amounts.
- Limit to Words - Enable or disable the skipping of spacing characters, when drawing the text lining style. When enabled, the underline will not be rendered under spaces or spacing characters. Only the words will be underlined. The default mode is disabled, when all characters are underlined. The same option is available for strikethrough and overline styles.
Background Section
The text background options are used to create a filled or outlined background region, behind the selected characters. The text background can be shown with any fill or stroke style available for regular objects, and the background is automatically adjusted to the selected text extent. The text background style can be set independently from the text fill style.
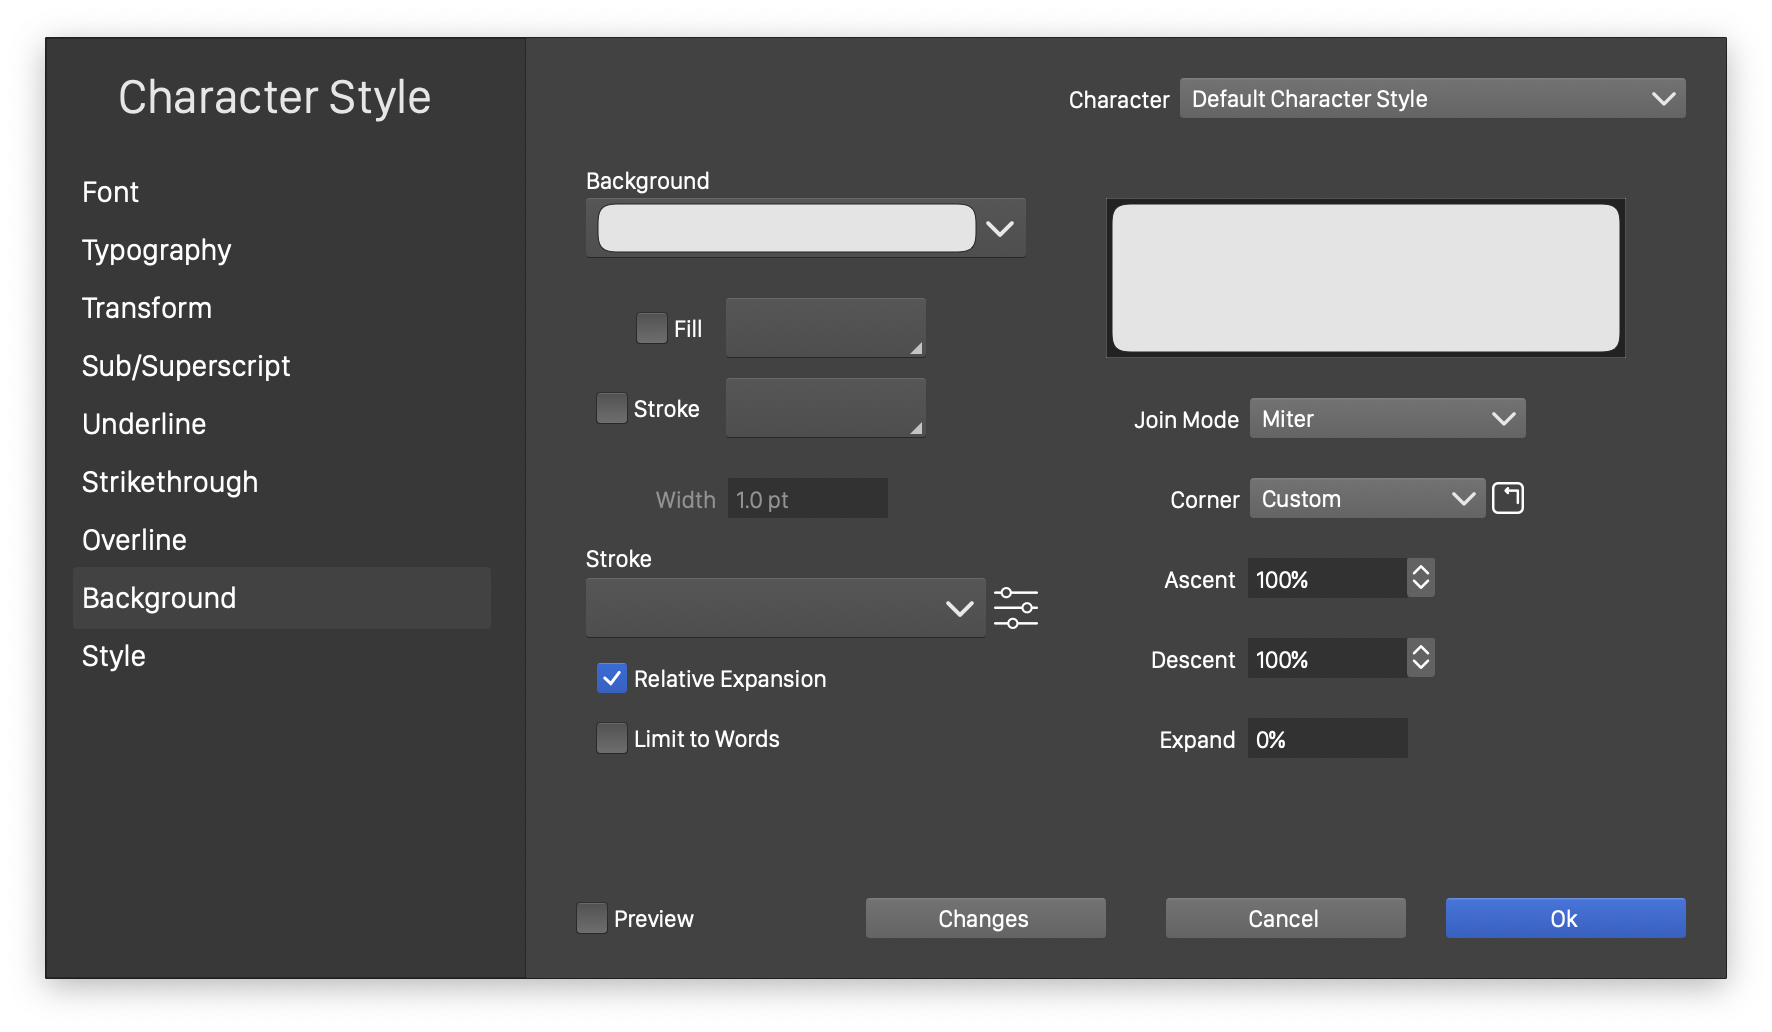
The Character Style view with the Background section.
The following text background styling options are available:
- Background - Opens a list of previously saved text background presets and styles. The text background options can be saved and reused as styles or presets, using the Background Options command from the Text Decorations panel menu.
- The current text background style is previewed in a larger box next to the Background field.
- Fill - Enable or disable the use of a fill style to render the text background. When disabled, the text background will not be filled. When enabled, the text background is filled with the fill style selected by clicking on the button next to the Fill check box.
- Stroke - Enable or disable the use of a stroke style to draw an outline around the text background region. When disabled, the text background will not be outlined. When enabled, the text background is outlined with the stroke style selected by clicking on the button next to the Stroke check box.
- Stroke - Opens a list of stroke styles and presets, that can be used to draw an outline around the background region. The stroke attributes can be edited in a separate modal view, by clicking the button, next to the Stroke field.
- Join Mode - Select the corner joining mode, used when expanding or reducing the background region. The background region can be expanded or reduced by an arbitrary amount. This is done using a shape offsetting scheme, that uses the corner joining mode to expand cusp corners.
- Corner - Select a corner preset or style, used to adjust corners of the background region. The background is created around a sequence of characters, using rectangular corners. These corners can be adjusted using a corner shape and size stored in a corner preset or style. The
 button can be used to edit the corner options, if no suitable preset or style is available.
 - Ascent - Adjust the upper margin of the text background region, in percentages relative to the font ascent. Values smaller than 100% reduce the upper margin of the background, while values larger than 100% will expand the upper margin.
- Descent - Adjust the lower margin of the text background region, in percentages relative to the font descent. Values smaller than 100% bring the lower margin of the background closer to the baseline. Values larger than 100% will expand the lower margin, further from the baseline.
- Limit to Words - Enable or disable the display of text background around works only. When enabled, spacing characters will not have a background. This option is disabled by default, showing a background around all character types.
- Expand - Edit the expansion or reduction amount of the text background region. The expansion can be set in percentages, relative to the font size, or in absolute values, depending on the Relative Expansion check box state.
- Relative Expansion - Enable or disable the use of relative expansion amounts.
Style Section
The characters of a text can be filled with a solid color or any other fill style available to fill objects. The glyph shapes can also be shown using a stroke style, to draw an outline around the characters.
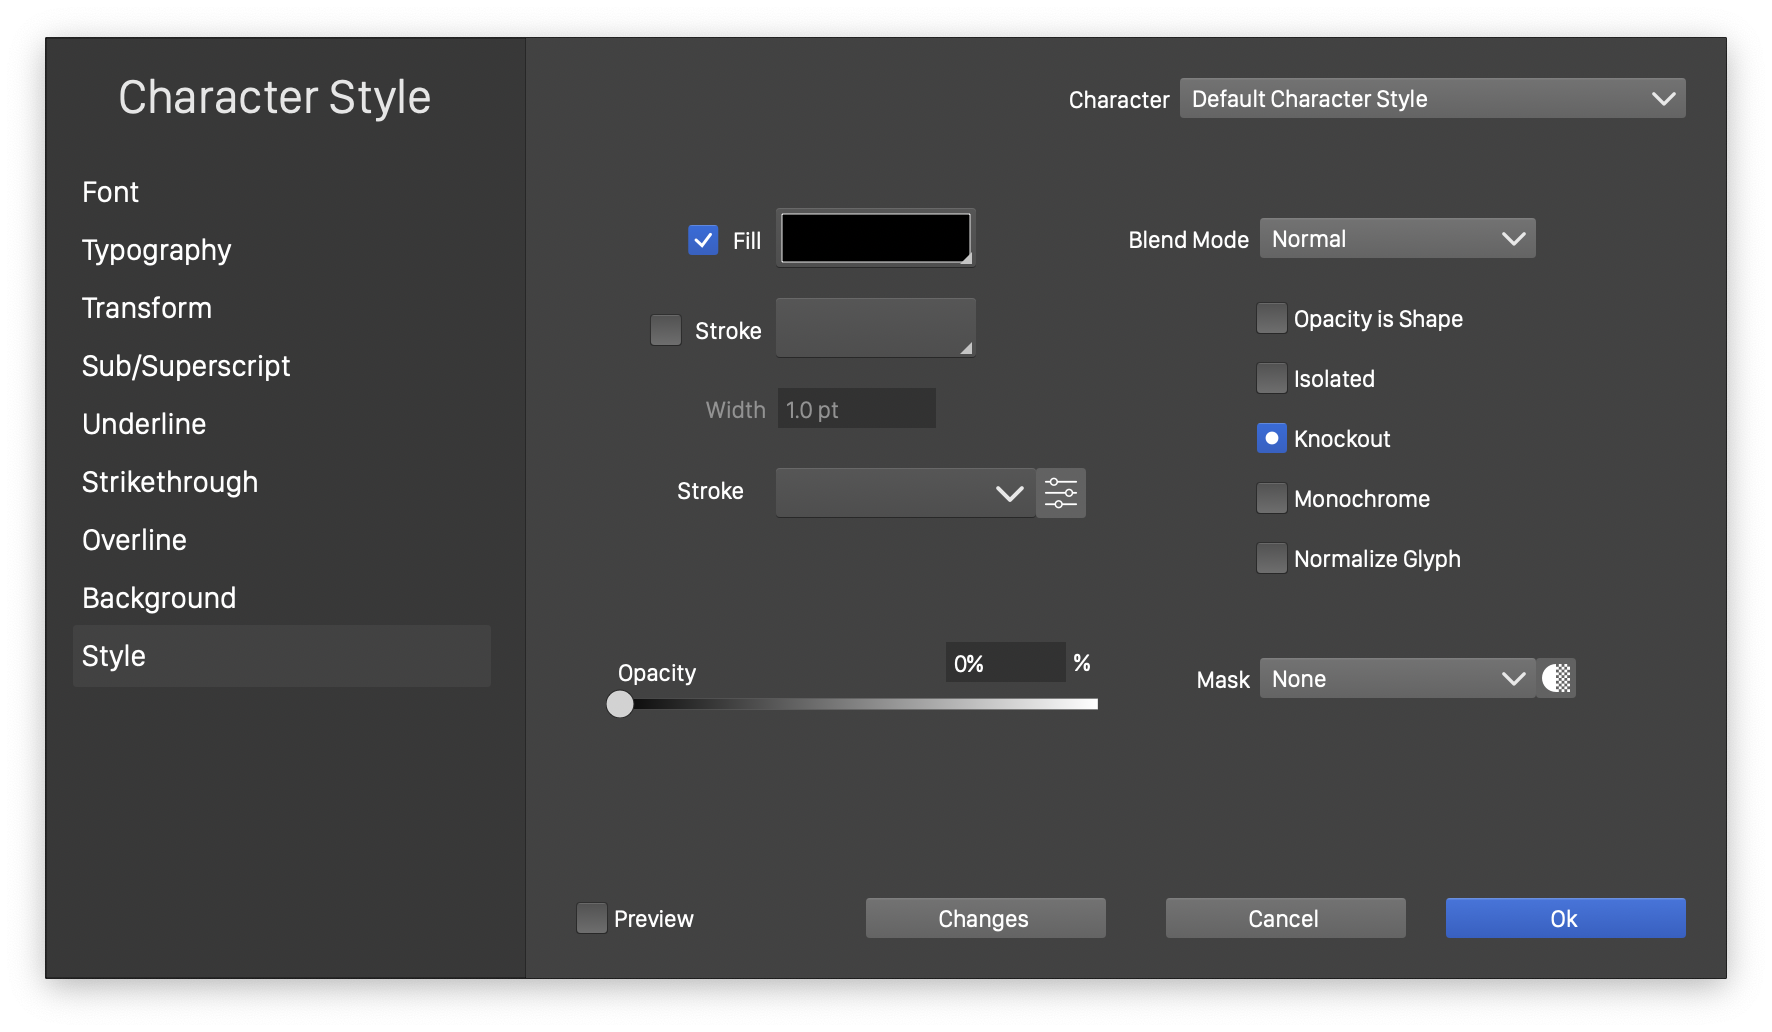
The Character Style view with the Style section.
The text styling options are set in the Style section of the Character Style view:
- Fill - Enable or disable the use of a local fill style. When enabled, a fill style can be selected by clicking on the button next to the Fill check box. When disabled, the default fill style is used. In case of a text shape, the default fill style is the object fill.
- Stroke - Enable or disable the use of a local stroke style. When enabled, a stroke style can be selected by clicking on the button next to the Fill check box. When disabled, the default stroke style is used. In case of a text shape, the default stroke style is the object stroke.
- Width - Set the stroke width. This stroke width field is enabled only when the Stroke check box is checked.
- Stroke - Contains a list of stroke presets and styles, used to select the stroke for the characters. The stroke options can be edited using the button next to the drop box.
- Opacity - Set the opacity of the characters.
- Blend Mode - Set the blending mode of the characters.
- Opacity is Shape - Enable or disable the handling of opacity and alpha as the glyph shape.
- Isolated - Enable or disable isolated rendering of the glyph shapes.
- Knockout - Enable or disable the knockout rendering mode of the glyph shapes. In knockout mode, the glyphs are composited with the layer or group backdrop, ignoring other content in that group.
- Mask - Opens a list of transparency mask styles and presets. The
 button, next to the drop box can be used to edit the transparency mask options.
When selecting transparency masks for character sequences, it is recommended that a suitable mask is designed and tested first on a regular object. This mask is then saved as a style (or preset) and selected from the Mask list. Objects with Transparency Mask roles are also listed here.


