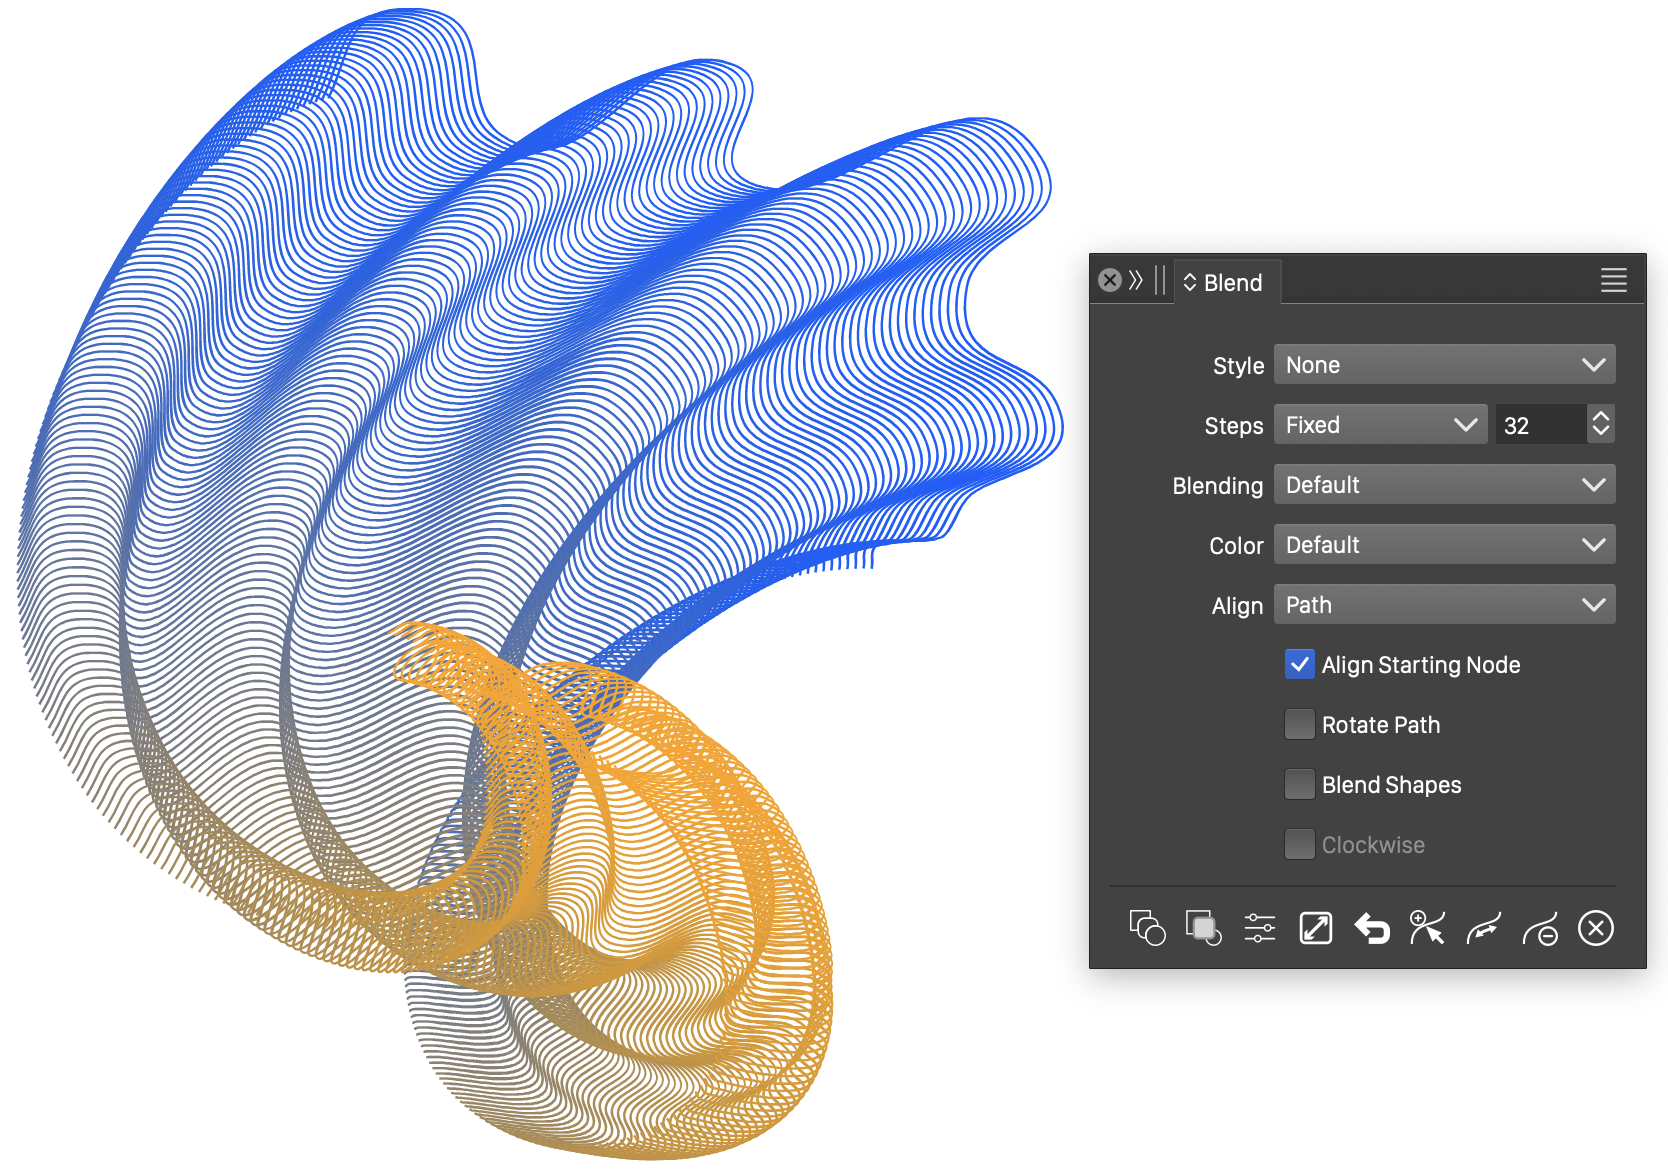
Blending
The object blend effect creates a transition in shape and style between two or more objects. Set the number of intermediate objects directly, specify their spacing, or let VectorStyler calculate enough steps for a smooth style transition.
Blend open paths or closed shapes to create smooth transitions in your artwork. VectorStyler determines how one shape changes into the next, and you can customize the result in the Blend Panel or the Blend Options dialog.
Keep these features in mind:
- The original objects remain separate and selectable. You can move, edit, or reshape them.
- A new blend object holds the intermediate objects between the originals. It can only be selected together with its two end objects.
- The selected color mode determines the intermediate colors.
- Image effects also blend between the original objects. This can generate many intermediate objects with their own image effects.
- A blend path controls the positions of the original and intermediate objects. Use a path on the canvas, a shape preset or style, or an object with the Shape role.
- You can create or edit a blend path with the Node tool. Initially, the path is a straight line.
- Open the Blend panel from Effects - Blend or Window - Effects for common settings. Its Blend Options command opens the full set of options.
- Use the Blend
 tool to create a blend by clicking its start and end objects, or to extract an intermediate object at any point in the transition.
- Use the Blend Mapping
 tool to match positions on the two shapes and control how they transition.
Overview
- Blend Panel - Create blends and adjust common settings.
- Blend Options - Access all blend settings.
- Blend Tools - Create and extract blends interactively, and customize shape transitions.
Creating Blends
- Open the Blend Panel from Effects - Blend or Window - Effects.
- Select two or more objects.
- Click
 .
- Adjust the blend settings in the panel.
To create a blend with the tool, select the Blend tool, then click the first and second objects. Both objects must be in the same layer and group.
You can also select two objects and choose Effects - Blend - Create Blend. This creates a blend with the default settings. Use Blend Options to adjust it.
To remove a blend, choose Effects - Blend - Remove Blend.
Blend Paths
To align an existing blend to a path:
- Select the blend and the object containing the path.
- Click
 in the Blend panel.
- To edit the blend’s copy of the path, select the blend with the Node tool.
The original path remains separate. To link the blend to that original instead of copying it, enable Linked Path in the panel menu before assigning the path.
A blend without an assigned path follows a straight line between the centers of its original objects. You can edit this line with the Node tool.
Blended Objects
A blended object represents a single step in a blend. Use it to create an intermediate version of two objects or symbols, with an editable blend position.
- Select two objects.
- Click
 in the Blend panel.
- A new blended object is created at the 50% position between them.
The blended object stays linked to both originals and updates when they change. You can move and transform it independently, and adjust its blend position in the Appearance panel.
When blending two symbols, their contents and the positions of the objects inside them also blend according to the selected rules.
Blended Shapes
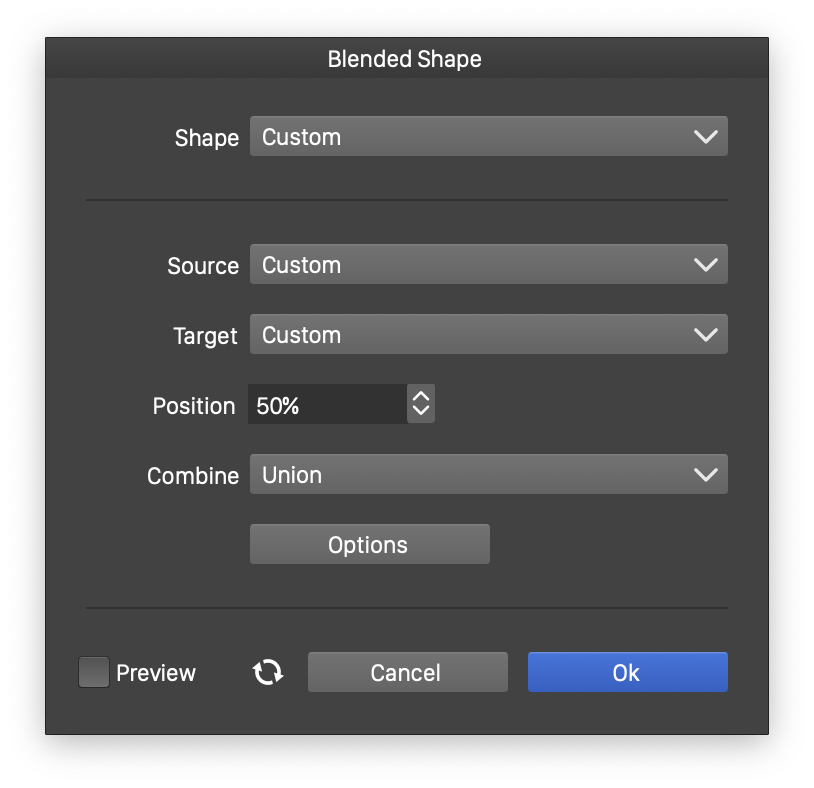
Blended shape options.
A blended shape represents a single step between two shapes. It can link to existing object shapes or shape styles. Adjust its blend position in the Shape panel.
- Select two objects.
- Open the Shape dropdown in the context panel or Shape panel.
- Choose Blended Shape Preset or Blended Shape Style.
- Access the result in the Presets or Styles panel and adjust its options.
The following options control the shape:
- Source - Choose the starting shape.
- Target - Choose the ending shape.
- Position - Set the position within the transition.
- Combine - Choose how multiple shapes are combined into one.
- Options - Open Blend Options.
Expanding Blends
- Click an intermediate object to select the blend.
- Choose Effects - Blend - Expand Blend. The intermediate objects become a group.
- Ungroup the result to edit the objects individually.
Blend Examples
These examples show how shape, style, path, and transition settings affect a blend.
Blending open paths
Two simple open paths have different gradient strokes. The blend creates intermediate paths and gradients between them.
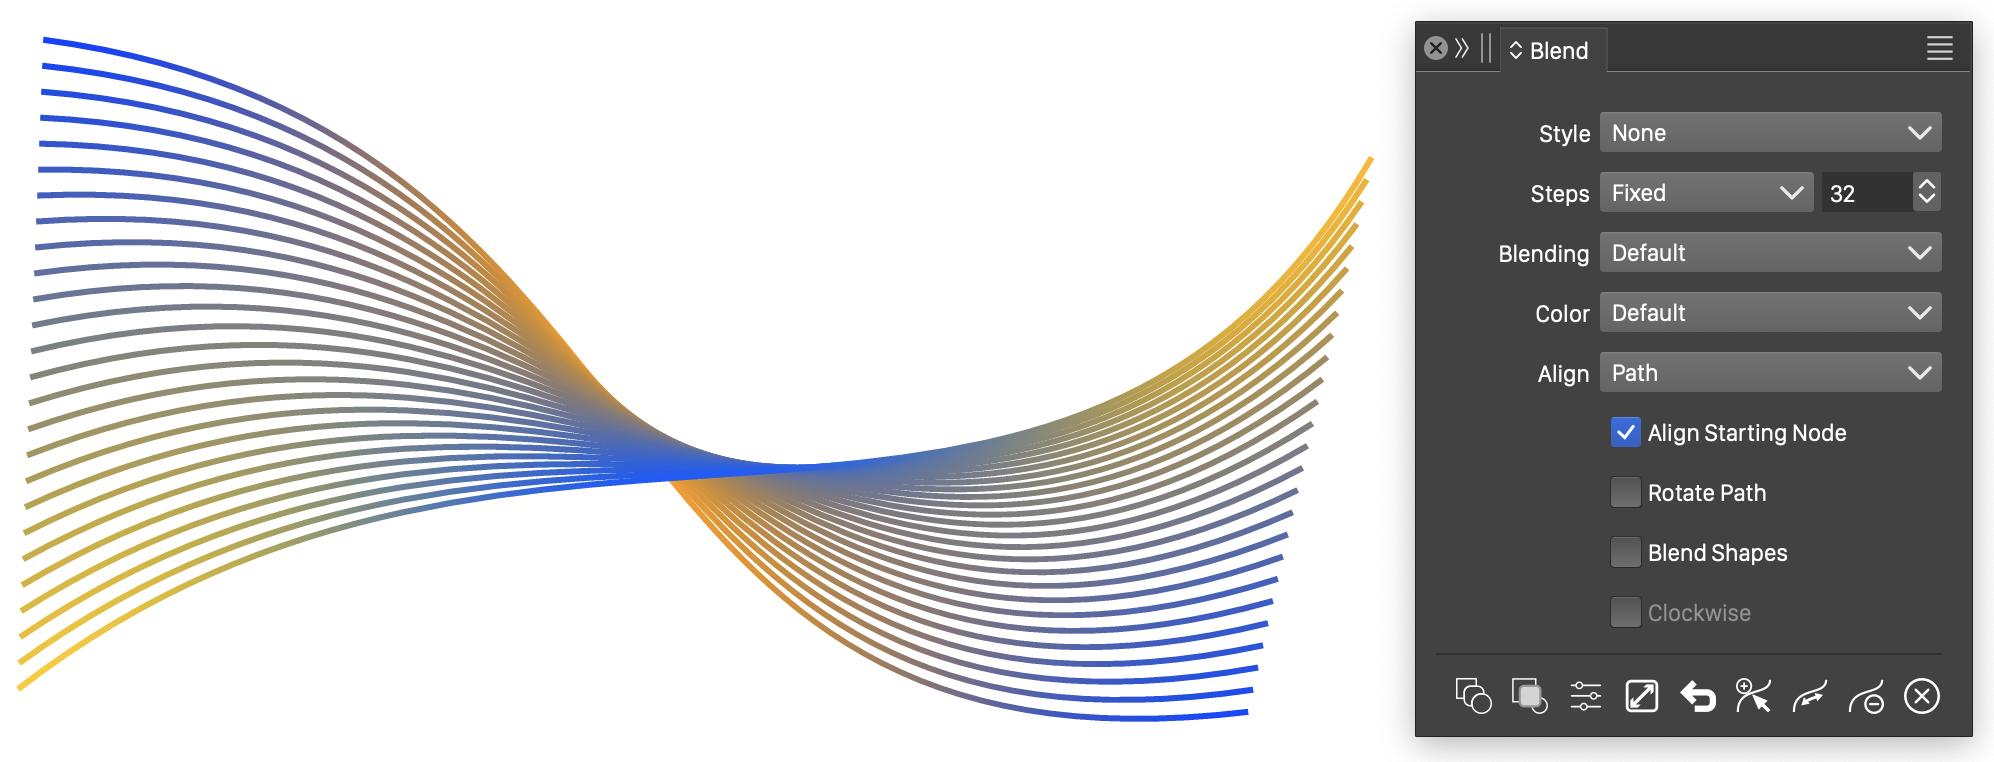
Blending open paths with gradients.
Blending closed shapes
These two examples blend closed shapes with solid fills. Both the shape and fill color change through the transition.
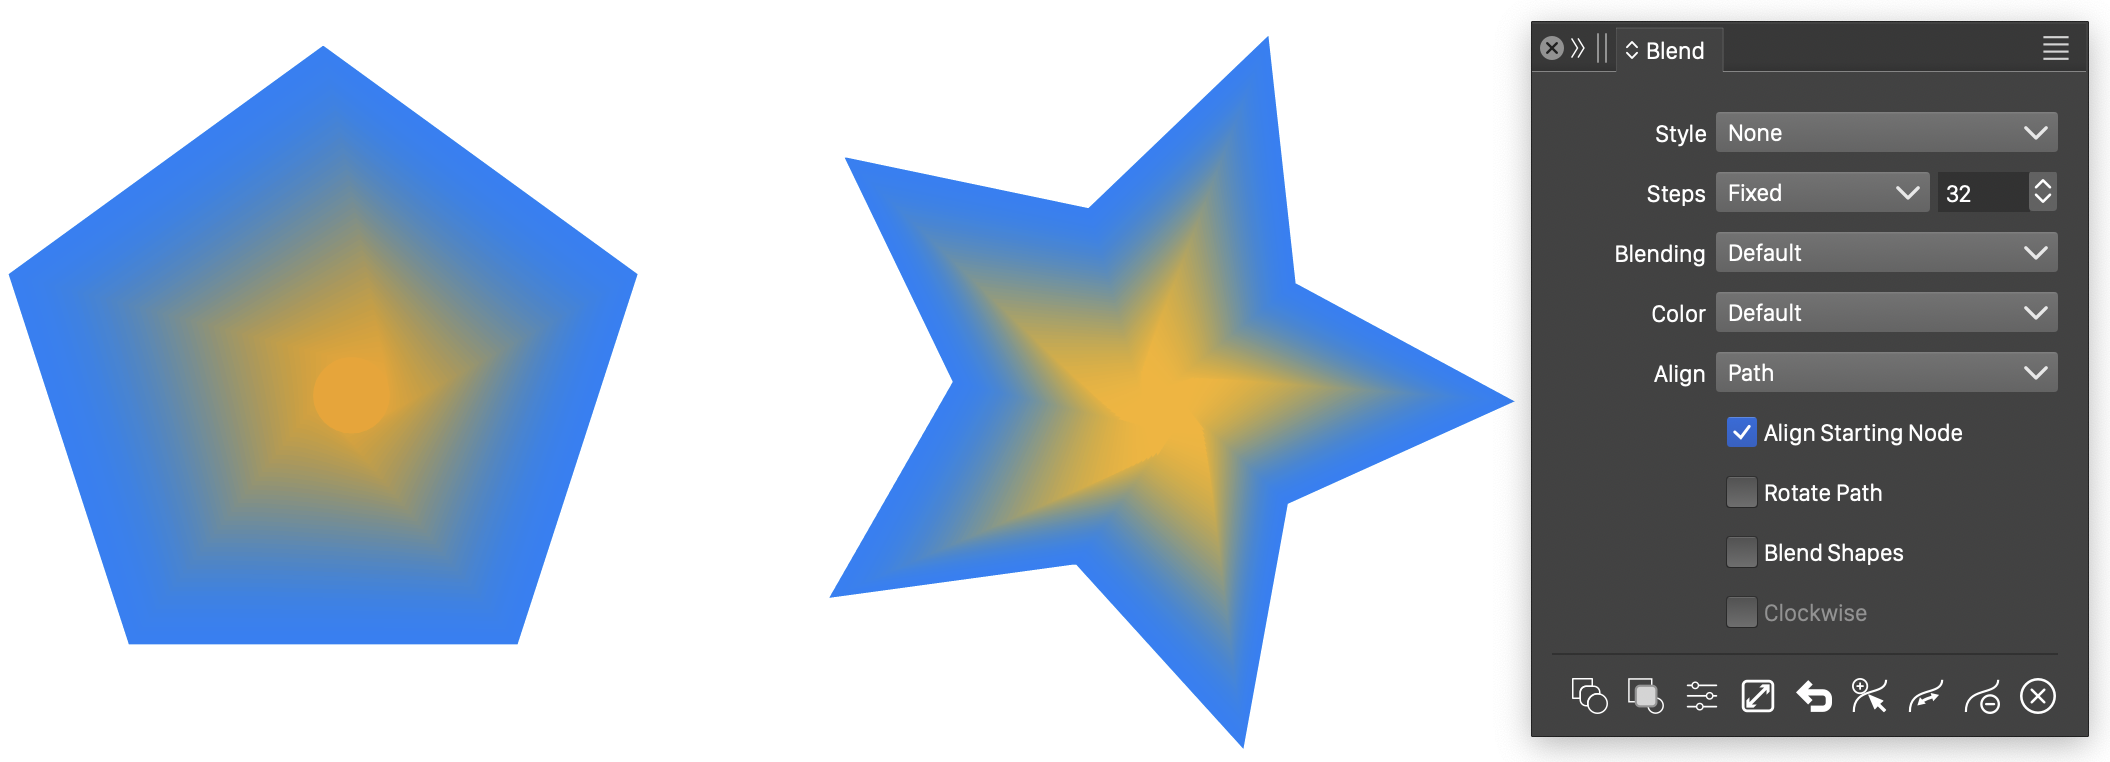
Blending closed shapes with different forms and fill colors.
Blending outlined shape
These closed shapes have strokes and no fill. The Revolve option in Blend Options adds rotations as one shape transitions into the other.
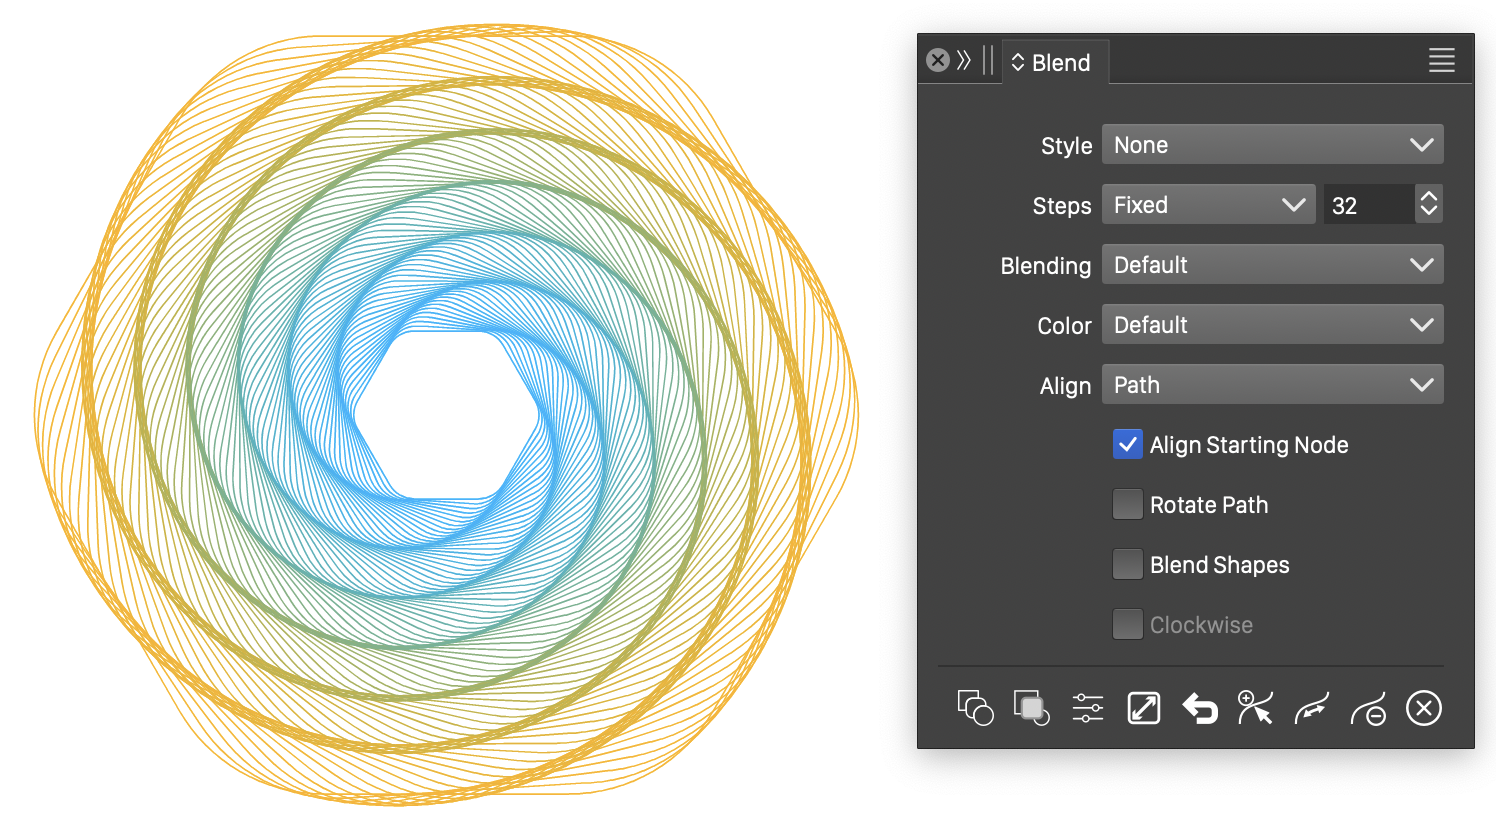
Using Revolve to blend closed shapes.
Blending along a path
The original objects sit at opposite ends of an open path, with the intermediate objects evenly spaced along it. A style transfer function creates repeated cycles between the two end styles.
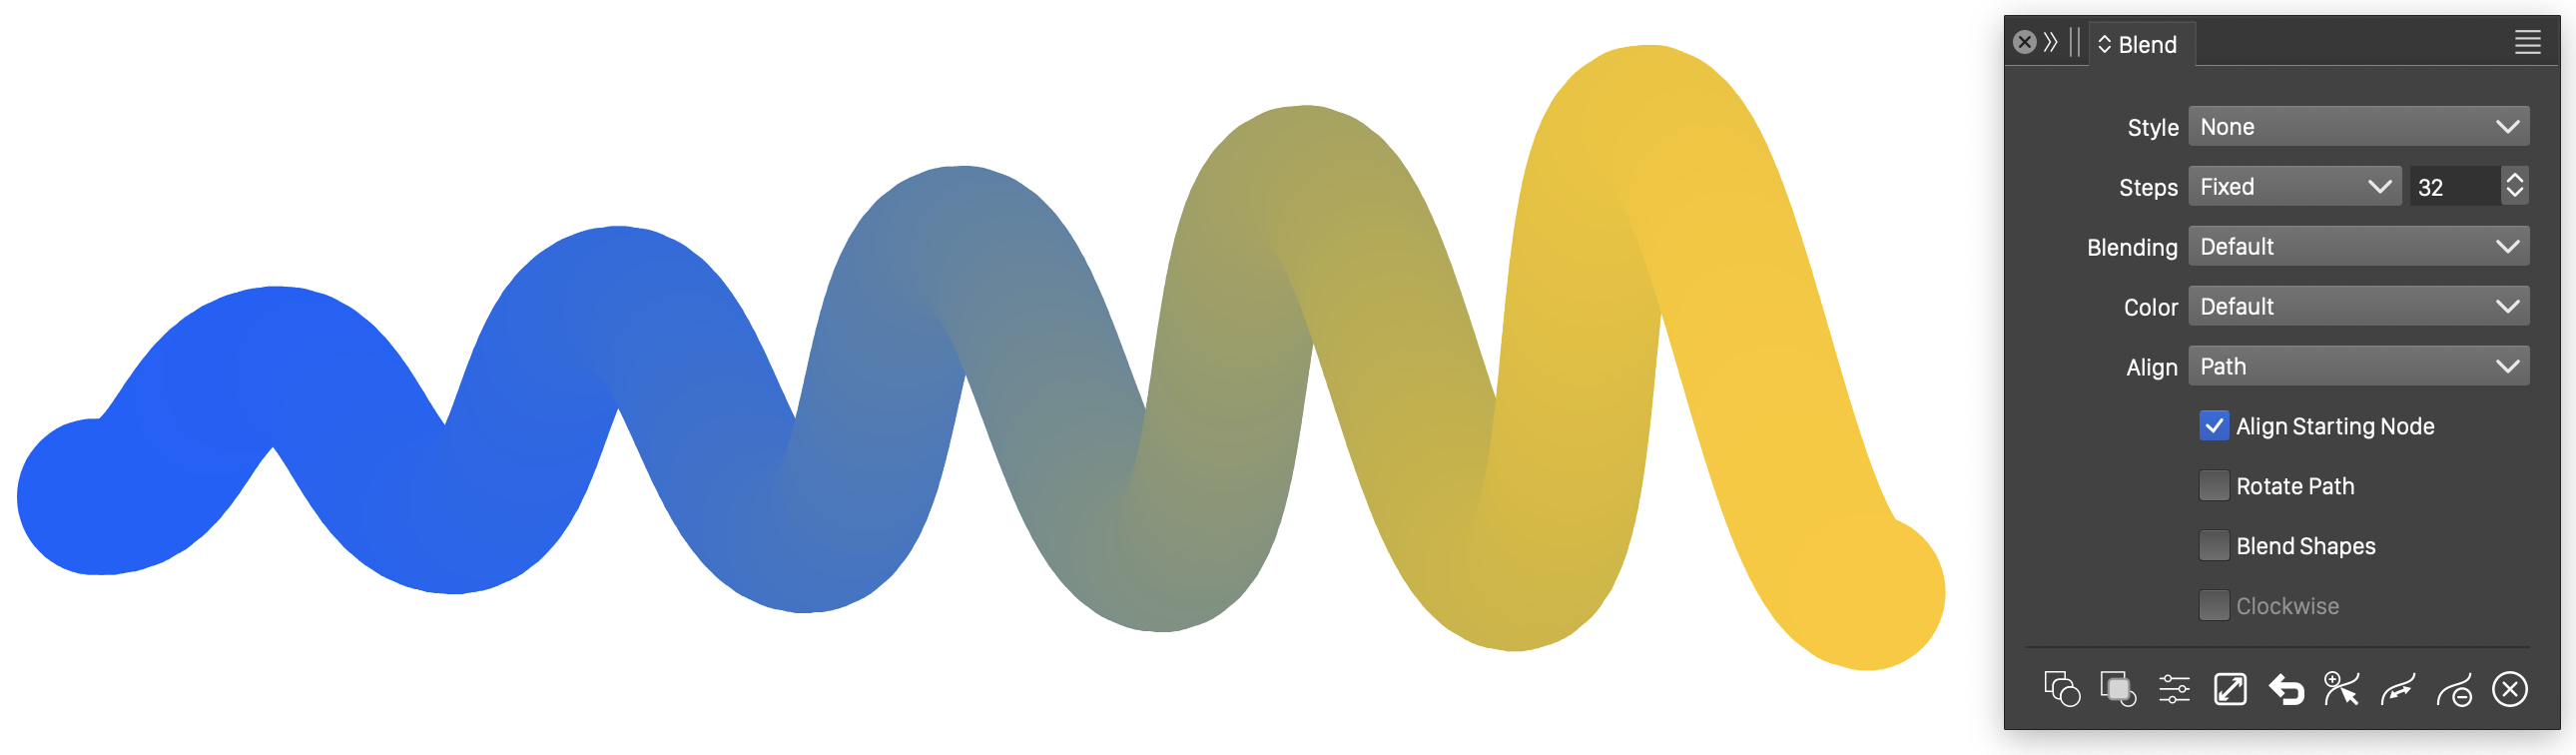
Blending along a path with a style transfer function.
Blending open shapes along a path.
A blend between two freely drawn open shapes follows another open path.